How To Prep Your Sun Oven
If you’ve been one of my readers for a while, you know I’m a fan of a product called a Sun Oven. It is a versatile cooking option that works great in sunny locations, so I’ve loved mine here in Southern Utah. I wanted to update this post from a few years ago so it has the most current info possible.
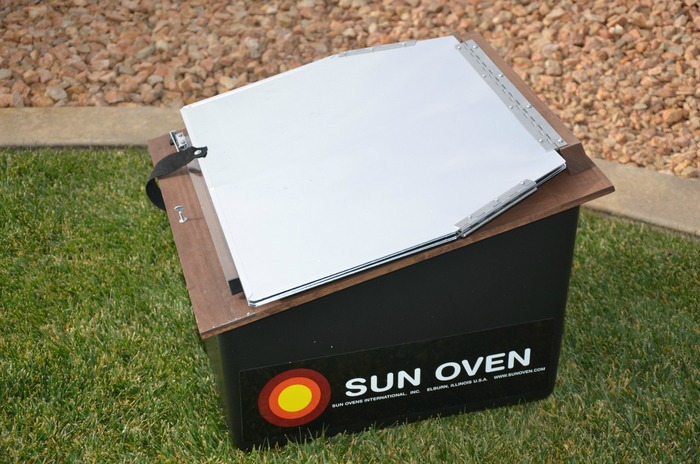
I am going to show the world how to prep your Sun Oven today. Here’s the deal, I have two of these awesome Sun Ovens. I have a few friends who are a bit nervous about just opening the Sun Oven box and getting started. I got my first Sun Oven from Paul Munsen, the person who designed these awesome ovens. I was a new blogger and he was kind enough to send me one to try out and then show the world how to use it.
I have been using mine for a number of years now and really enjoy the freedom these ovens provide. I ended up buying a second one from a store here in St. George when they had an awesome sale going on. I figure, in my area, there are a few of us who will be cooking for the entire neighborhood if a disaster hits. We won’t be feeding, mind you, everyone must contribute to the neighborhood food bank if it comes to that.
Everyone Needs To Contribute
Just giving you the heads up here, we must all contribute. I don’t think there is a nice way to say it, but everyone must be prepared for the unexpected. Some people may think the government will deliver food to your door, that’s not going to happen, not enough resources. At least for days, weeks, or months if we had a grid down, no power, no refrigeration, etc. We’ll be on our own, prepared or not.
The packing box they come in may seem daunting to open, or you may feel you don’t have time to tackle this project. I get it. But we need these boxes open and the ovens ready to use when we need them. I’ve always told my readers that you need to not only have the products needed for emergencies, but also knowledge of how to use them.
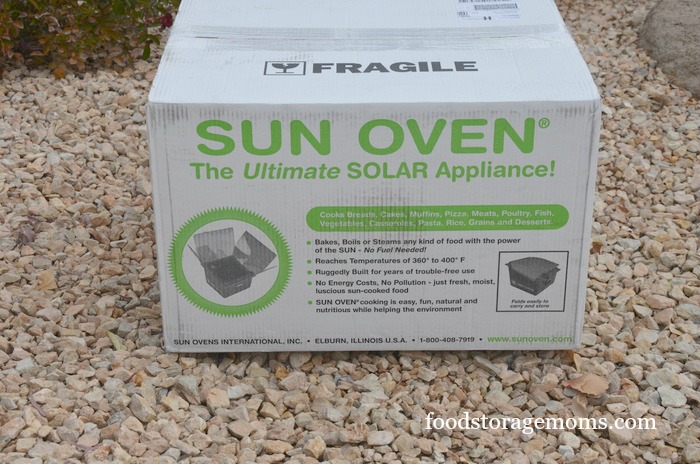
I’ll show you how to do this step by step. Get your box cutter or scissors and carefully open the box. I borrowed this unopened box from a friend this morning so I could demonstrate what is needed to be done. I’m glad she hadn’t had the time to get the box open. It’s important for me to show the world how easy it is to get this baby prepped and ready to go.
In case you missed this post, How To Use A Kelly Kettle
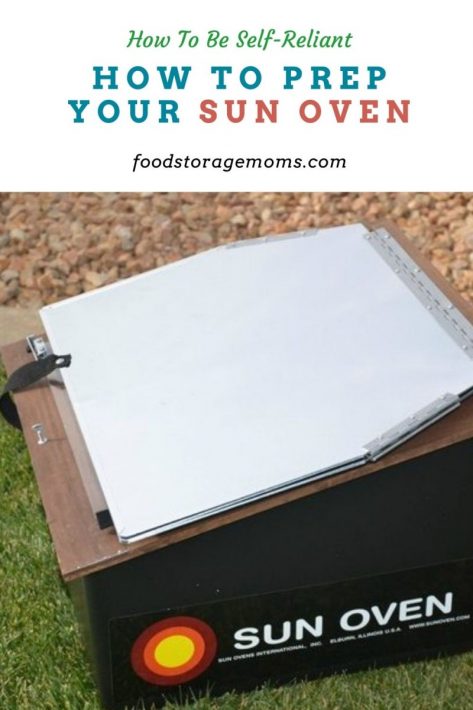
How To Prep Your Sun Oven
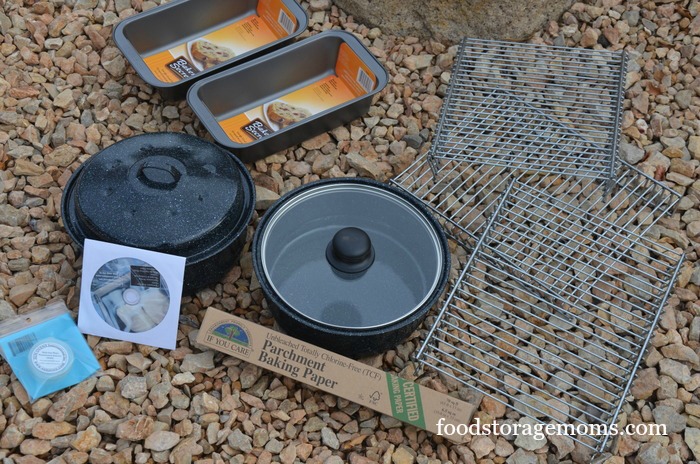
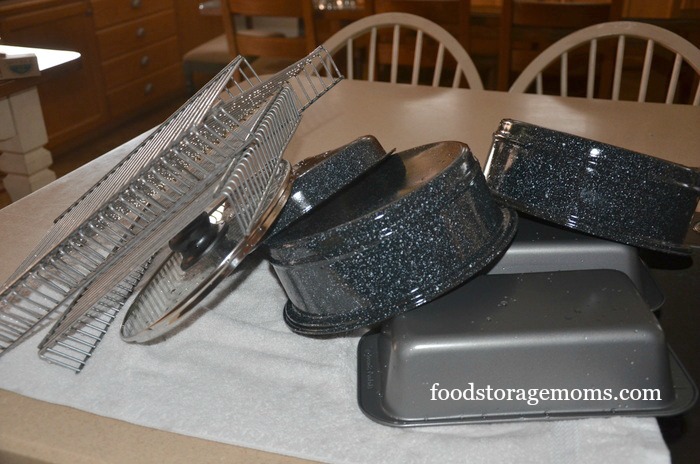
Inside the box, you’ll find the Sun Oven and some awesome accessories. This particular package is from a few years ago, so if you don’t see this package online that’s why. When purchased, this package had two large bread pans which could also be used for casseroles, brownies, or cakes. I say large bread pans because I use smaller bread pans. These are 9.25in X 5.25in x 2.5in or 24cm X 13cm x 6.5cm.
This package also comes with two stackable pans with two different lids. One is enamel and the other is glass. You can bake with these stacked on top of each other with just one lid. I love the glass lid because I can watch how my food is baking. It also has three dehydrating racks with one roll of parchment baking paper.
Please keep in mind, you can use your own pans, as long as they fit in the cooking area available inside the Sun Oven. This is the same model I have. I know the newer ones will hold a larger pan, but this model works great for me.
Another tidbit you need to know, we can’t use stainless steel or light-colored metal pans since they reflect the heat away from the food we are cooking. The darker the pan the better.
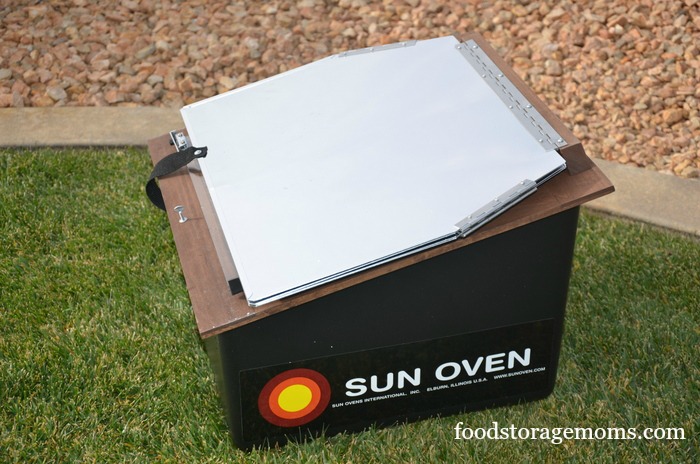
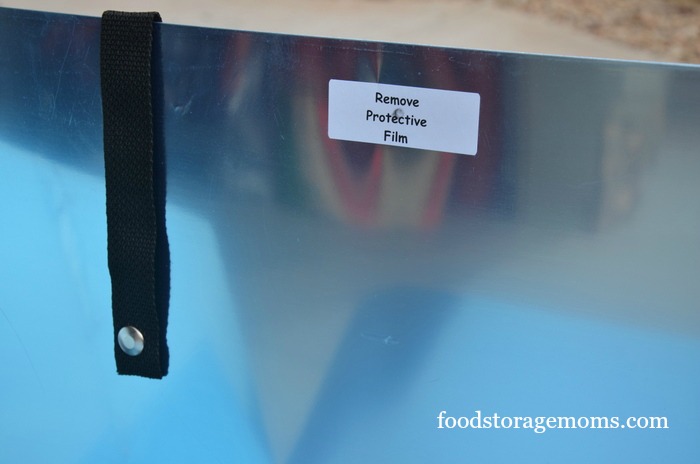
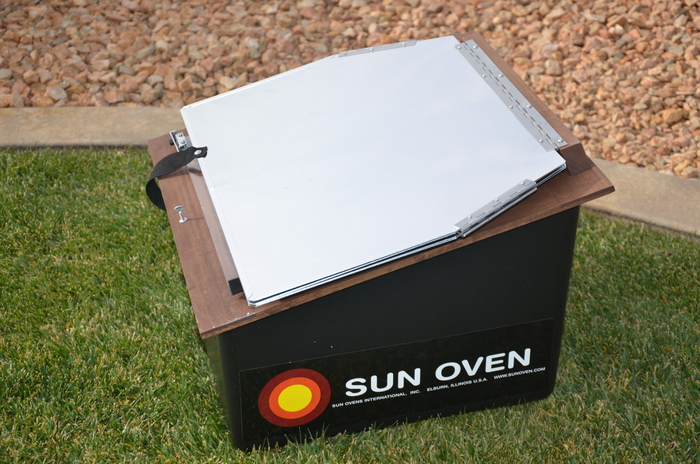
Can you see the blue film? They attach the film to the reflectors as protection. We have to remove this before we can prep the Sun Oven to use outside. I had to use my fingers to pull the tiny pieces away from the rivets after removing the large blue sheets of film from the reflector panels. That black strap you can see with a snap is designed for you to use after you close down the oven (the glass top and the solar panels) and secure it for storage.
I had to remove all of this blue film. It only took me a few minutes but is necessary or the oven won’t work properly.
Next, I decided I needed to wash the bread pans, baking pans with lids, and dehydrator racks with hot soapy water. I then rinsed and dried them.
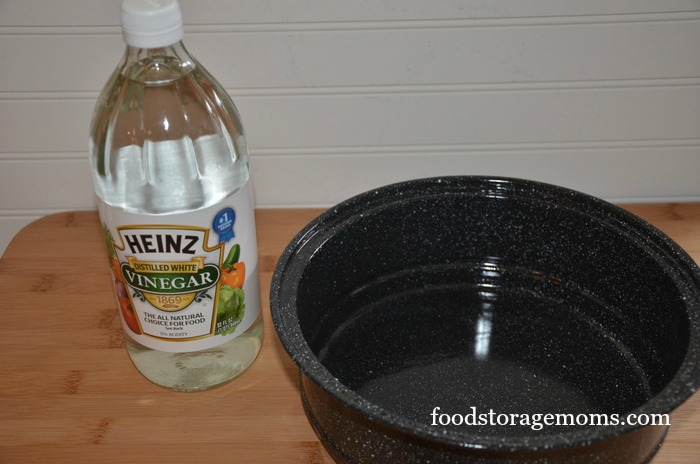
The next step was to set up the Sun Oven outside for about 30 minutes to start heating up so I could use it for the next step. You take 3 cups vinegar (I used white) and put it in one uncovered pan in the oven for 90-120 minutes.
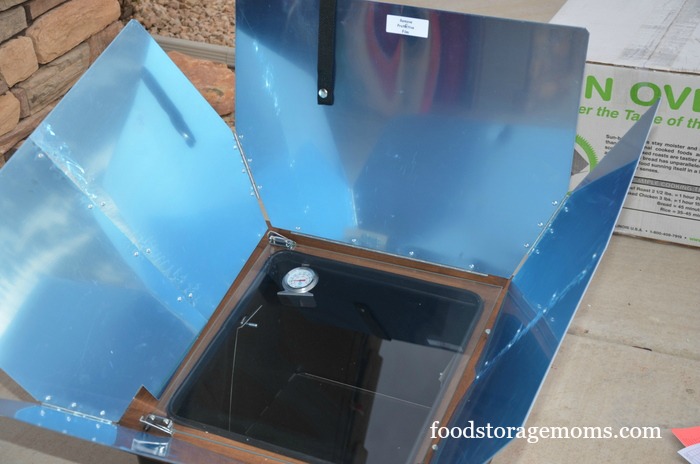
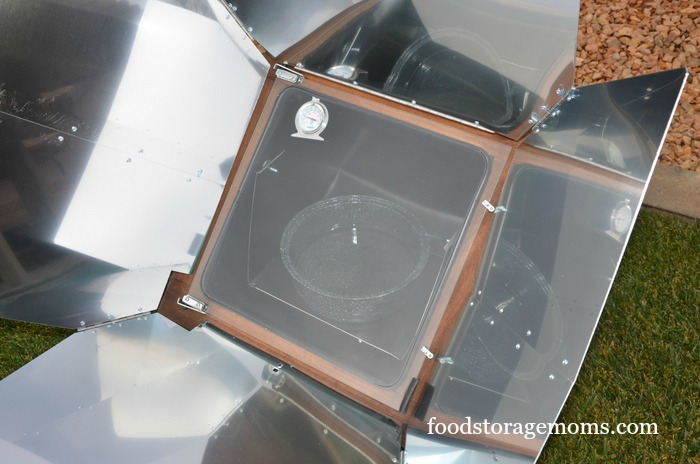
You can see the uncovered pan with the vinegar inside the oven below. I had trouble today getting the temperature up to 350 degrees because the day was a little overcast. When it hit 325 degrees I started my two-hour countdown to bring the vinegar to a boil.
I patiently waited for the sunshine to peek through the clouds. This is another reason I recommend having more than one type of cooking device when we lose power.
Thanks to a reader, Shana, for asking why we need vinegar in the prep process. It’s basically to clean the inside of the oven after it’s been shipped to you. I cut and pasted this from the Sun Oven website, and I quote: “Before you start cooking the first time you use the oven, it is best to leave it in the sun for 90 to 120 minutes with an open pot of vinegar (3 cups of straight vinegar). The glass door should be closed and latched down and the vinegar will steam the oven chamber.
After the oven has been pre-heated, completely clean the inside of the chamber and the inside of the glass door with the hot vinegar. While cleaning, it is best to scrub hard on the interior of the glass around the area where the glass meets the black gasket. Now you’re ready to start cooking.”
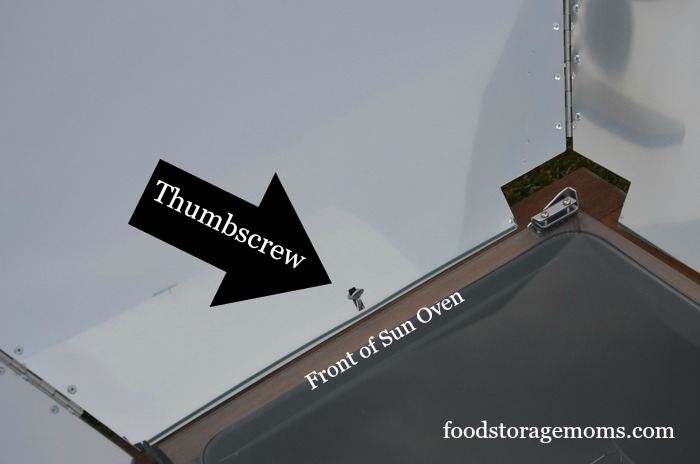
This shows the little thumbscrew we use to secure the solar panels in place.
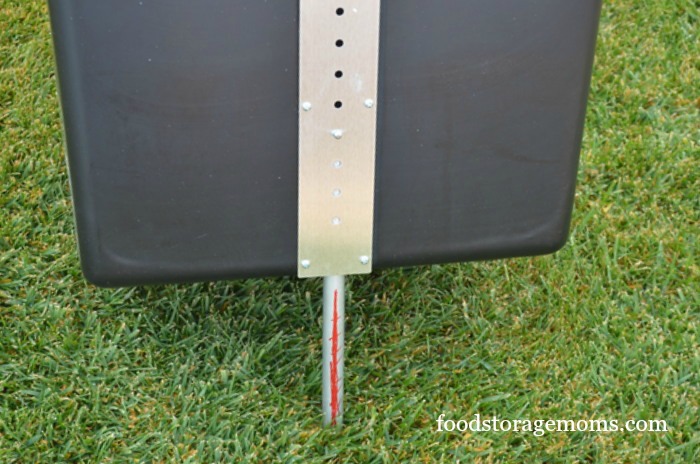
You can see this model has a “leg” on the back to raise or lower the unit so it catches the most direct sun rays at the correct angle. I used a permanent red magic marker so I can line up the button that pops through the holes on the bracket shown above the extension leg to hold the oven in the desired position.
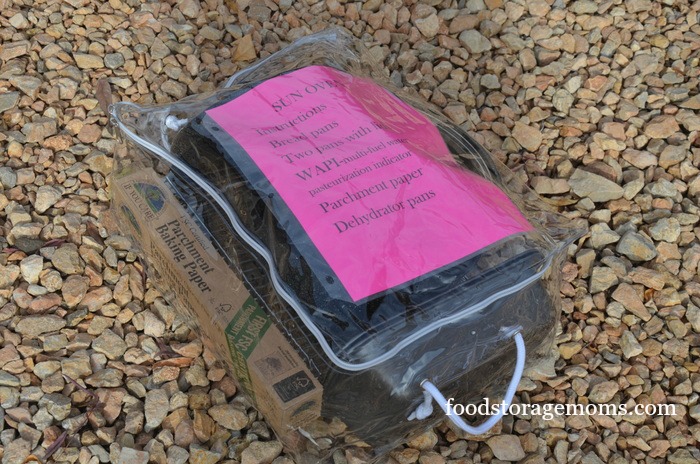
Now, I like everything organized, so of course, I have to put all my friend’s accessories in this bag. I buy these bags: STORAGE BAGS I used these same bags to store my 72-hour kit food. You will want some oven gloves similar to these: GRILL GLOVES
What kinds of things can I cook in the Sun Oven?
My response is, you can cook pretty much anything you can cook in your regular kitchen oven. You are only limited to the size of the cooking “chamber” where you place the food to be cooked, and also the amount of sun available on any given day. The more sunlight, the faster things will cook. Limited or no sunshine, you’ll need to find another cooking option for that day.
I haven’t cooked anything as big as a turkey, so I can’t comment on that. You could try a smaller bird, but be sure to check it from time to time with your meat thermometer to make sure it reaches the internal temperature required, usually about 165 F.
Can I use my regular cookware set in the Sun Oven?
Unless your cookware is a dark color, it won’t work. Regular chrome or silver-colored pans tend to reflect the sun’s rays, so the pan and food don’t heat up as necessary.
How should I monitor the cooking process?
Since the sun moves across the sky during the day, you need to check the sun oven from time to time to make sure it continues to face the proper direction necessary to catch as many rays as possible. I’d suggest every half hour or so to go outside and adjust the oven so it’s facing the most efficient position
Final Word
I hope this post today helps those of you who have a Sun Oven and haven’t taken the time to get it out and ready for use. Please take the time to get your Sun Oven packaging open and get the unit ready if you still have it sitting in your garage. Please do it today, you may need it tomorrow. Thanks for being prepared for the unexpected. May God bless this world. Linda





Good stuff
One of the worst things I see in folks preps is new equipment that’s never been tested. By new I mean new to them.
It’s ok to say have unopened filters as long as you know how to replace them. It’s not ok to have a piece of equipment you’ve never used not ready to go.
I’ve even had people pay me to shoot their gun to make sure it’s ready. Well the gun is but you ain’t.
Hi Matt, great comment as always. They paid you to shoot their gun to make sure it’s ready. BUT THEY AREN’T READY TO SHOOT IT? Oh, my gosh, this is the best comment EVER! How in the world will they know how to use it. That beats all! LOL! Funny, not funny, unsafe. Wow, thanks for sharing, my friend. Linda
Thanks for this article, Linda. We’ve debated whether a sun oven would work for us where we are. It might be usable only in warmer weather here in southern Indiana. Would need to scrounge new bakeware, since my current stuff is all glass, steel, or ceramic. Ive seen lots of speckled enamelware in resale shops lately, though. Be safe and stay mindful of the world around us. It keeps getting more “interesting” daily.
Hi Terry, the glass or ceramic dishes will work, you just can’t use shiny bakeware, it reflects the sun away. I have used it in 38-degree weather. The outside temperature is not an issue. It’s the sunshine, my friend. Boy, I totally agree with the world getting “interesting” daily. I wish I could find some speckled enamelware in thrift stores here! I love hearing this! Linda
Dear Linda:
I think I will stick with my 2 wood stoves. I am too old to learn something that convoluted (and that my husband would have to watch) I have 2 wood cook stoves and a regular wood stove that I can use as a stove top if needed. I love my Cook stoves I never had a problem when cooking with them. I can cook anything I want on them.
Hi Jackie, you do not need a Sun Oven, my friend. You have what everyone would love to have! Life is good when you have a way to cook when the power goes out! Linda