Dehydrating Pears in a Dehydrator or Oven
Do you love pears as much as I do? This is an easy healthy snack for everyone. Today it’s all about dehydrating pears in a dehydrator or your oven. These are made without chemicals or preservatives. They are yummy and eaten right out of the jar. You can take them camping, or hiking, or throw them in lunch boxes. You can throw them onto salads or put them on sandwiches to give them a little more crunch and a tangy yet sweet flavor.
I love using my dehydrator to make healthy snacks for my family! Dehydrated pears are so yummy! This article was first posted in 2015, oh my gosh, I’m updating it and sharing it with you with more information. Enjoy.
Kitchen Items You May Need
- Dehydrator (I purchased the Excalibur Dehydrator with a timer)
- A Sharp Knife
- Cutting Boards
- Mason Jars
- FoodSaver with Jar Sealer Attachment
- Funnel
- Quart Jar
Pears-One Healthy Snack
I had a salad at a conference I recently attended and they served a spinach salad with dehydrated pear slices….yep, I knew right then I wanted to make some!
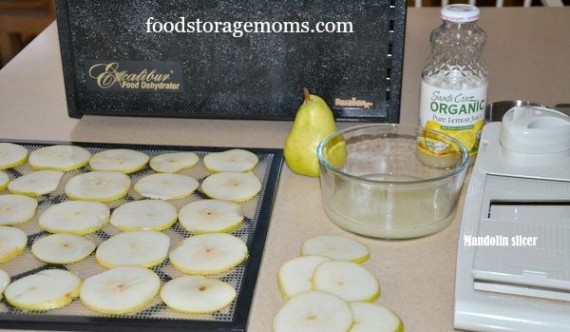
Here is the mandolin slicer I use that helps slice stuff more evenly, and then, of course, the sliced product dehydrates more evenly…..love it! You can use my lemon water solution of one cup water to one cup lemon juice to keep them from browning while drying. Remember, you do not have to use a solution…you can dry them plain. They still taste awesome!
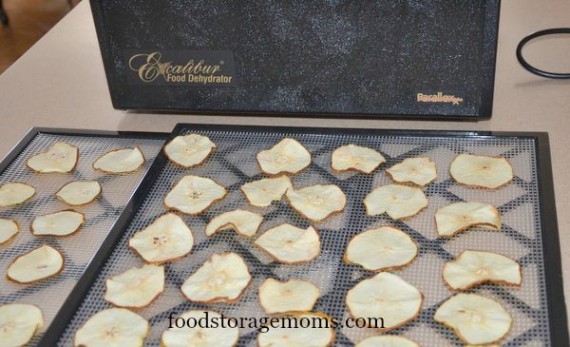
Here they are after dehydrating for about 3 hours. They are so delicious and healthy! The typical pear season runs from August through October. You can choose from so many varieties of pears. They ripen from the inside out so carefully feel the “neck” which is close to the stem to see if it is ripe or not.
How To Condition Your Fruit or Vegetables
If you live where it is HUMID: “To condition the fruit, take the dried fruit that has cooled and pack it loosely in plastic or glass jars. Seal the containers and let them stand for 7 to 10 days. The excess moisture in some pieces will be absorbed by the drier pieces. Shake the containers daily to separate the pieces and check the moisture condensation.” https://nchfp.uga.edu/how/dry/pack_store.html As mentioned in the next paragraph and in the section below regarding conditioning, I often just put them on a baking or cookie sheet on my counter for the 5-7 days.
I used to live in the DRY DESERT: I set my fruit and vegetables on my countertop for 5-7 days. Ten days are even better to make sure everything is evenly dry before using your FoodSaver unit.
Can I Dehydrate the Pears in My Oven?
Yes, you can. Many preppers like to use ovens for dehydrating fruits and veggies. You need to set the oven to its lowest temperature, put a wad of foil to keep the oven door ajar and place the sliced pears on cookie sheets covered with parchment paper. Be sure to check the pears often since your oven will dry them much faster than a regular dehydrator
Health Benefits Of Pears:
1. Great fiber, especially with the skins on.
2. Good source of vitamins B2, C, and E, copper, and potassium.
3. They are crunchy and packed full of antioxidants.
4. Because of the fiber in pears, they are great for lowering bad cholesterol. They help prevent strokes. I think we better eat a pear every day.
5. They are typically the least allergic fruit if you are prone to allergies.
6. Help prevent colon cancer because of the vast amount of fiber.
I think we should all store some pears in our food storage, whether we dehydrate them, buy them canned, can them ourselves, or purchase freeze-dried pears. Let’s do it! I love this brand: Del Monte Pear Halves, 8.5-Ounce Packages (Pack of 12) Please watch for case lot sales of fruits coming soon in the Fall.

- 1-6 pears, wash, dry, and slice with mandolin slicer if possible
- 1 cup of water
- 1 cup lemon juice
-
Wash and remove the stems from the pears. You can core them if you desire I did not. I also did not peel them.
-
Combine 1 cup of water and 1 cup of lemon juice in a medium-sized bowl.
-
Then dip the sliced pears in the solution. This is optional…you do not need to use the lemon/water…it just keeps the pears from going brown while dehydrating.
-
I set my Excalibur Dehydrator to (135°F) = (57°C) degrees. Please check on your personal dehydrator for the time it suggests.
-
Today these pears took about 3 hours. It will also depend on how thin you slice them. The time will always depend on the humidity in the area you are drying. The wattage on each dehydrator will be different as well.
-
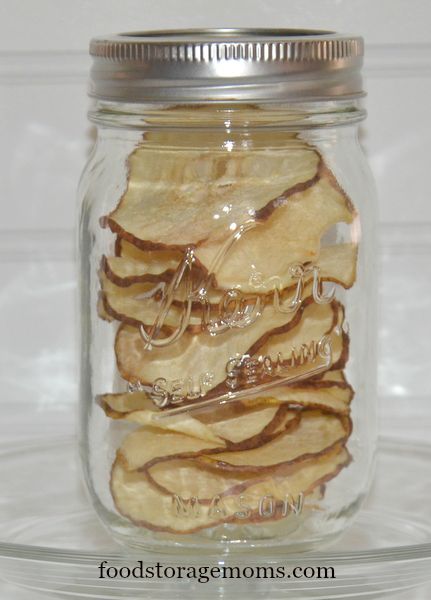
I stop dehydrating them when they are still a little pliable…not crispy. These are great for snacks or placed on a spinach salad!
Here are the other Dehydrating Posts I have done:
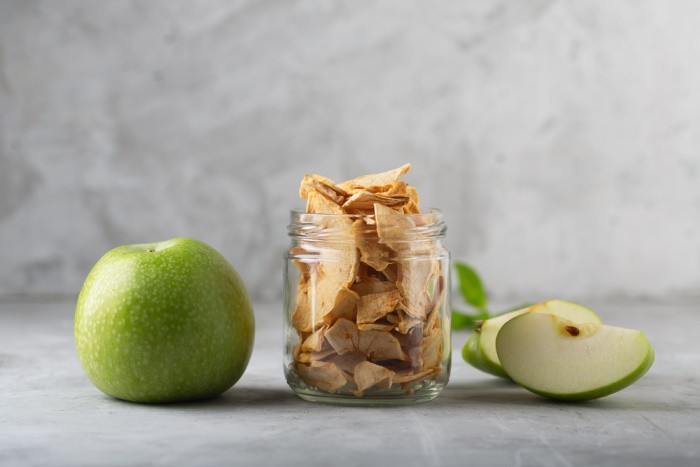
- Dehydrating Apples
- Dehydrating Bananas
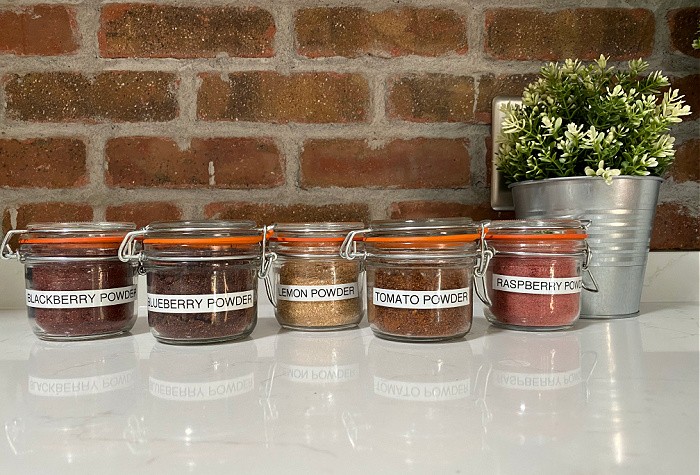
- Dehydrating Blackberries and Powder
- Dehydrating Blueberries and Powder
- Dehydrating Cilantro
- Dehydrating Cucumbers and Powder
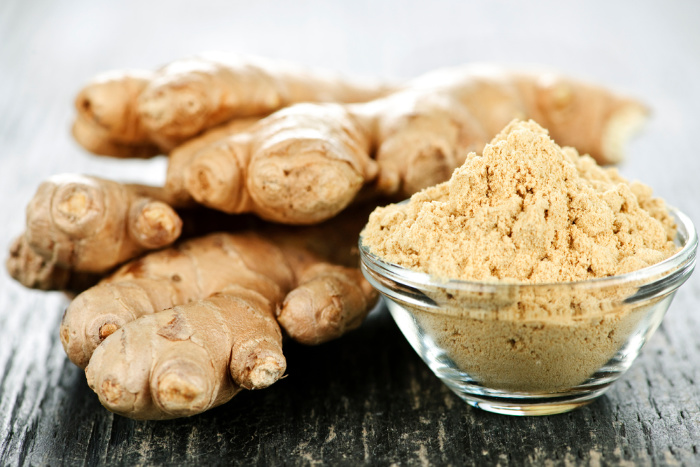
- Dehydrating Ginger and Powder
- Dehydrating Grapes
- Dehydrating Green Onions and Powder
- Dehydrating Kale and Kale Powder
- Dehydrating Kiwi
- Dehydrating Lemons and Powder
- Dehydrating Marshmallows
- Dehydrating Peppermint Marshmallows and Powder
- Dehydrating Mushrooms and Mushroom Powder
- Dehydrating Onions and Powder
- Dehydrating Pears
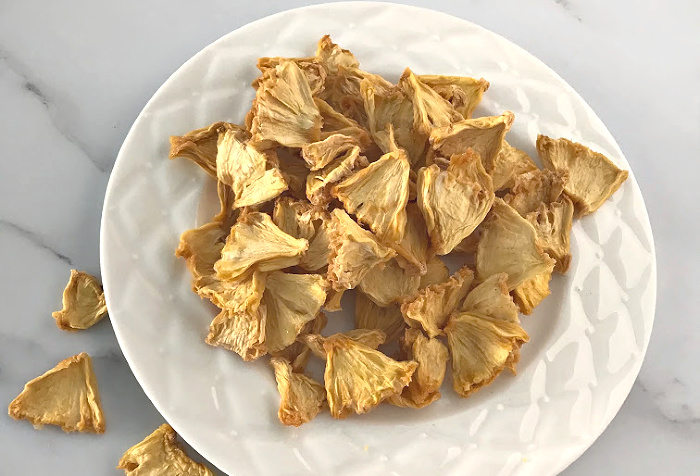
- Dehydrating Pineapple
- Dehydrating Raspberries and Powder
- Dehydrating Spinach and Powder
- Dehydrating Strawberries
- Dehydrating Tomatoes and Powder
- Dehydrating Watermelon
Final Word
It’s so fun to dehydrate pears or any fruit for that matter. Please be prepared and keep stocking up. May God Bless this world, Linda
Copyright Images: Dehydrated Pears AdobeStock_289581772 by Anzhela











Dehydrated pears are my absolute favorite! I posted about them, too. Now you’re making me want some!!! Thanks for sharing.
I peel mine because I don’t like them with it on. It seems to make them taste bad to me. Besides, I make a dried pear pie at Thanksgiving and the peeling would be terrible in it.
Hi Cheryl, oh I would peel for that dried pear pie as well! Yummy! Linda