Chicken Tortilla Rollups
As most of my readers know, I’ve been writing a lot lately about recipes and how great it can be to spend time in the kitchen, hopefully with family, fixing meals, and enjoying the effort. It has seemed like the right thing to do, especially during the holidays when we all get together for great food and conversation. That is the goal today as I write about chicken tortilla rollups.
Mark commented that he thought we were making a whole lot of trips to the store so we’d have all the ingredients necessary to complete the various recipe posts. Before we moved, I could count on being prepared with all the items in my pantry to make just about anything. With the new surroundings, it has been a little tougher to complete the meals without a grocery store visit.
That’s why today I wanted to write about chicken tortilla rollups. I knew that all the ingredients were in the fridge or pantry, and I just needed to put them together for a fun treat everyone would enjoy.
A side benefit, there was no cooking involved, just mix up the materials, spread them on the tortillas, let them set up in the fridge for a few minutes, cut and serve.
I really do get a great deal of satisfaction from my time in the kitchen, it truly brings me joy. But there are also times that throwing a delicious meal together in minutes without much labor also brings happiness, and today’s recipe fills that bill.
Some people seem to think that tortillas are only for meals with a Mexican flair. Not so, tortillas make great wraps and rollups that can be served hot or cold. This is my kind of easy recipe.
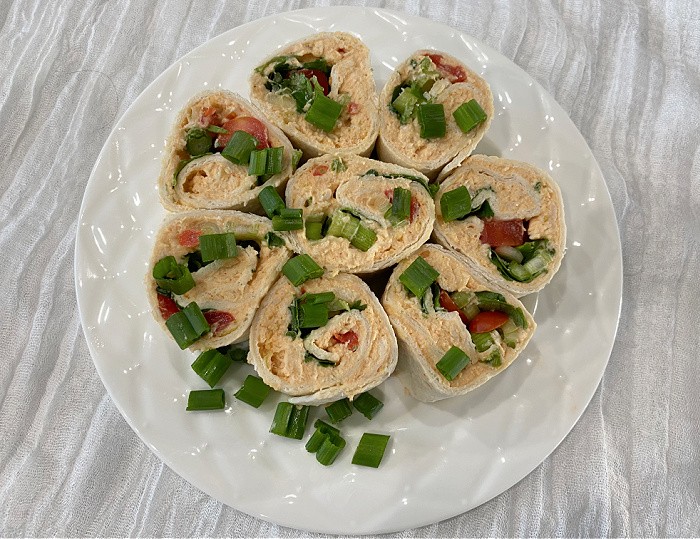
These chicken tortilla rollups are creamy and crunchy all in one bite. They have cream cheese, green onions, cilantro, tomatoes, and chicken, what’s not to love? In case you missed this post, How To Make Turkey Cranberry Roll-Ups
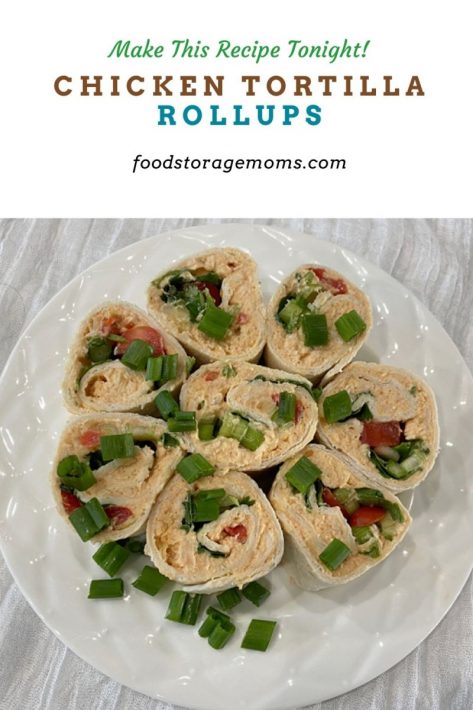
Chicken Tortilla Rollups
Items You May Need In Your Kitchen
- Mixing Bowls
- Cookie Sheet
- Plastic Wrap
- Hand or stand mixer
Chicken Tortilla Rollups
Step One
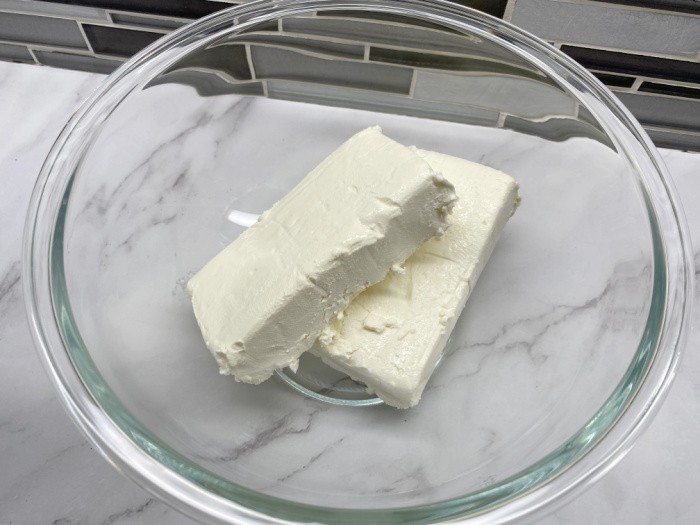
I gathered the ingredients and started the recipe by softening the cream cheese.
Step Two
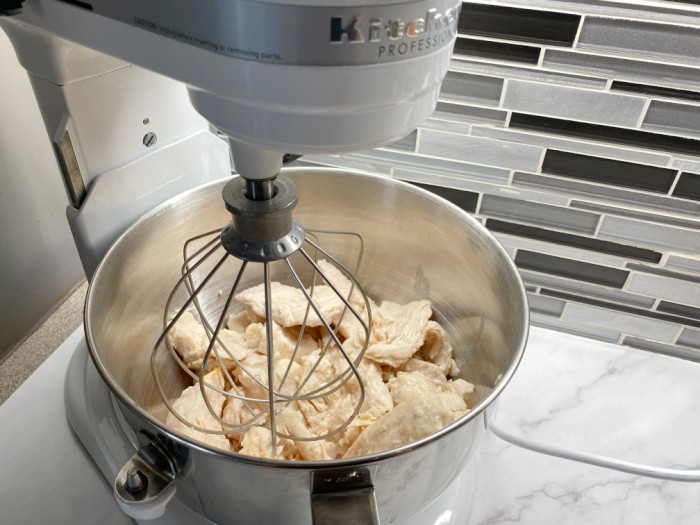
I promised myself I would show you how to shred cooked chicken using your KitchenAid stand mixer using the wire whip. This is the BEFORE picture.
Step Three
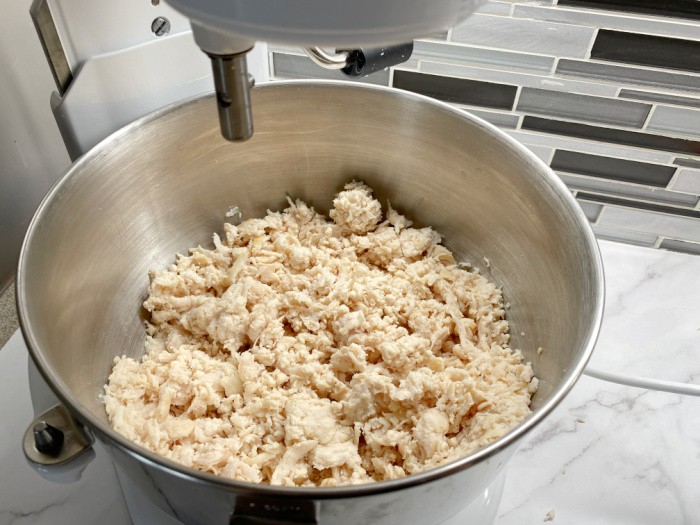
Squeal, look how nice it shreds the chicken so evenly! It’s perfect for any recipe that calls for shredded chicken. Easy peasy!
Step Four
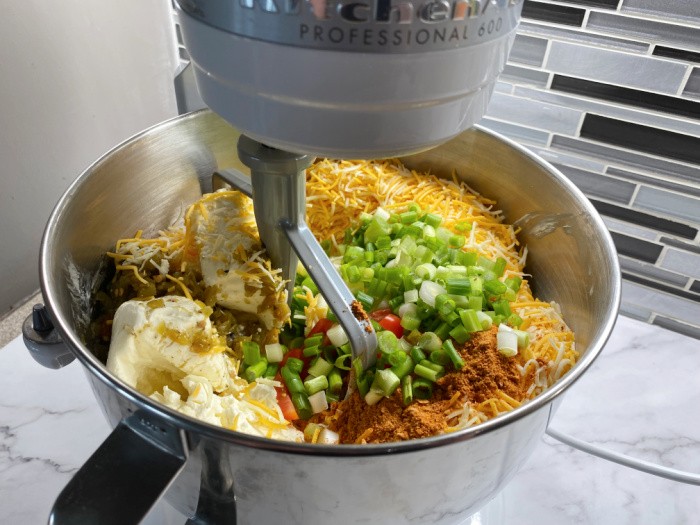
Combine the softened cream cheese with the taco seasoning, green chilies, and finely chopped cherry tomatoes. Add the cheese, chicken, cilantro, and green onions.
Step Five
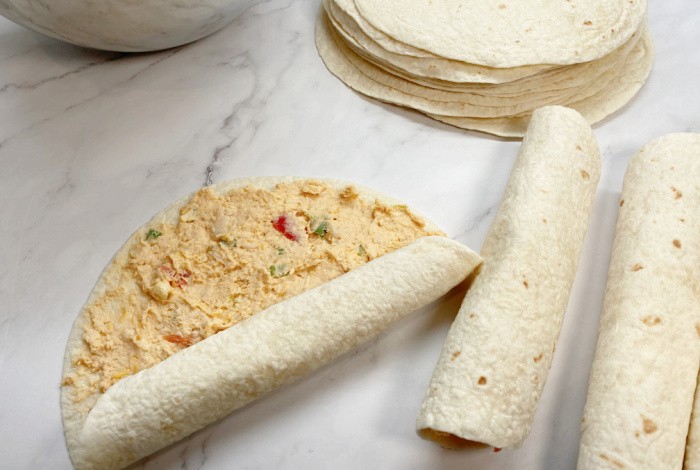
Scoop 1/2 cup of the mixture onto each tortilla, make sure you spread the mixture over the entire tortilla right to the edges.
Step Six
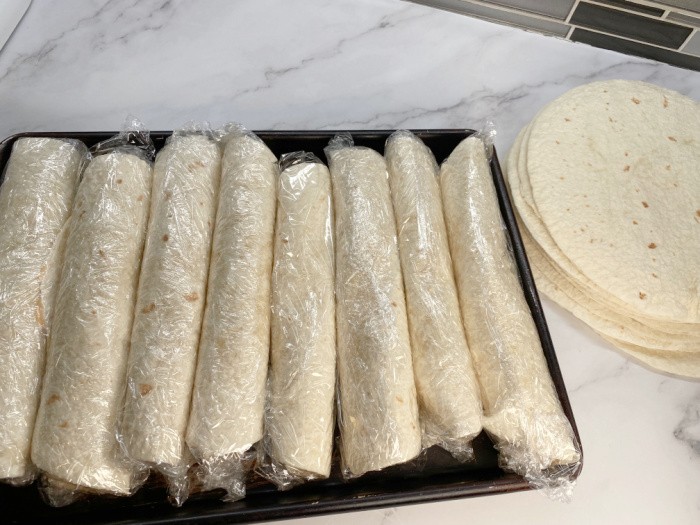
Roll them as tight as possible and wrap each one in plastic wrap. Place the tortilla rolls in the refrigerator for at least one hour.
Finished Product
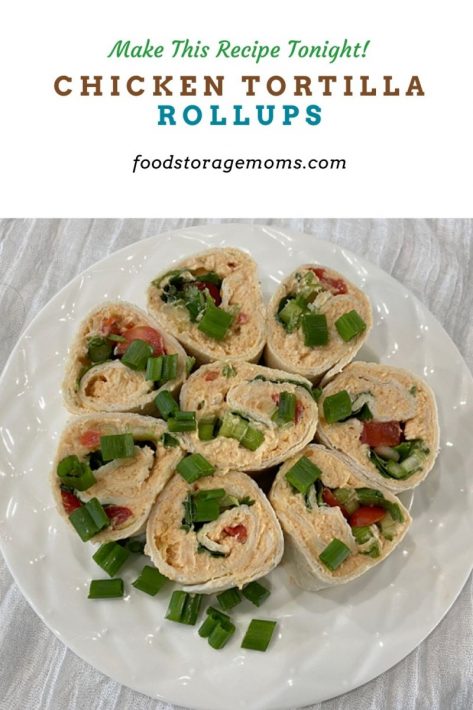
After chilling, remove the plastic wrap and slice the rollups in one-inch size slices using a serrated knife. Enjoy.
Chicken Tortilla Rollups Recipe

- 2-8 Ounce packages of cream cheese, softened
- 1/2 pkg. Taco Seasoning, I used McCormick brand
- 1 Can green chilies
- 1 cup Cherry tomatoes, chopped
- 1-1/2 cups Mexican shredded cheese
- 2 cups Cooked Chicken, I used rotisserie chicken
- 1/2 cup Chopped cilantro
- 6 green onions, finely chopped
- 8-10 medium-sized flour tortillas
-
Combine the softened cream cheese with the taco seasoning, green chilies, and finely chopped cherry tomatoes. Add the cheese, chicken, cilantro, and green onions. Scoop 1/2 cup of the mixture onto each tortilla, make sure you spread the mixture over the entire tortillas and to the edges. Roll them as tight as possible and wrap each one in plastic wrap. Place the tortilla rolls in the refrigerator for at least one hour. After chilling, remove the plastic wrap and slice the rollups in one-inch size slices using a serrated knife.
What can I serve along with these rollups?
We enjoyed a variety of chips, along with some red grapes I had in the fridge. Again, an easy, cool temperature meal we all appreciated.
Is there a special kind of tortilla I need to make these rollups?
I like to buy the flour tortillas I find at Costco. They come in a fairly large package and are less than $6.00. They are so moldable that rolling them up is not a chore. I don’t think corn tortillas would work.
They call for a dip in some hot oil, making them unable to be rolled or wrapped.
Do I need a certain size tortilla to make them work right?
The small tortillas would be hard to roll up once you have the materials spread out. You could use larger tortillas rather than the medium ones listed.
Of course, you’d need slightly larger quantities of the ingredients or just live with fewer rollups when you’re done. We did end up with some extra mixture, so I plan to make some homemade enchiladas this week, which is fine with me.
Could different varieties of meats be used in place of the chicken?
Sure, different meats could be used based on personal preference. I’ve just found that chicken tends to shred easier than many other types of meat, particularly beef that can be a little stringy.
Give other meats a try and see what you think, keeping in mind that the mixture needs to be spread on the tortillas
Is it possible to serve these rollups hot?
If your preference is a hot sandwich, then put them in the microwave or even your oven. Note that the texture will change, particularly in the oven since the tortilla will become crispy rather than the soft rollup you are probably used to. We like our rollups to be eaten on the cold side since they still stay soft and pliable.
How should I store them if I have leftovers?
I’d for sure store them in the fridge rather than the freezer. I haven’t had good experiences with tortillas from the freezer since they tend to get a little brittle and possibly soggy when thawed out. They should be good for 3 – 4 days in your fridge. I have frozen the filling to be used later, which is awesome. Just thaw the mixture in the refrigerator the day before you want to use it.
Final Word
I had a lot of fun making these chicken tortilla rollups this week. It didn’t take long, I had the ingredients, and my family was anxious to have a more casual meal than what we’d been having during the holidays.
If you want to teach your kids some talents in the kitchen, this would be a good recipe to try. Thanks for visiting my site today and reading this post. May God Bless this world. Linda









Sounds really good if you can find cream cheese!!
What to use in it’s place? Mayo, ranch dressing would be too thin.
Hi Bellen, I just bought some cream cheese. We don’t have a shortage here. Maybe cottage cheese? I hear about a shortage around the holidays, my shelves were stocked when I made this. I hope they replenish your shelves soon. Linda
I made something similar during Christmas holidays. Easy to make and so good. Love snack type foods anytime of the year. The hardest part in all of this is the waiting. LOL
Hi Deborah, thank you for the 5 stars, my sweet friend. I am truly a snacker through and through. LOL! I was looking for some workout pants to “workout” in. Then I realized I would rather bake. Life is so good in the kitchen! Linda
Baking is exercise, isn’t it? Please tell me it is. I like baking, too. I’m a snacker, as well. Love good healthy, and not so healthy snacks.
Hi Deborah, oh yeah, baking is perfect exercise!! LOL! I just went and purchased some “gym” clothes discounted big time to start walking. I’m trying to WALK and listen to books. I love any snacks, healthy or not too!! LOL! Linda
Oh my goodness…with a full house (12 yr old grandsons lives with us and my 73 yr old sister is recuperating here with a broken leg) I have been endlessly searching for new things to make to feed everyone. This is definitely going to be made TODAY! I’m pretty sure I have all or most of the ingredients. This will appeal to all 5 of us. Once again, a great recipe!
Hi Robbie, thank you for the 5 stars, my sweet friend! I’m sorry to hear about your sister’s broken leg. OH MY GOSH!! My family loved the recipe!! Praying for your sister!! Linda
These sound good minus the cilantro. I will have to write this down. I have a simple roll up I make
the recipe is as follows:
1 cup chunky salsa
1 block of cream cheese
1 cup finely shredded cheddar cheese
Mix well then spread on medium flour tortillas, Next place 2 slices of thin sliced meat (like Budding) on top of
the cream cheese mixture,roll up and wrap in plastic wrap and chill. Then slice and enjoy.
Hi June, thank you for the 5 stars, my sweet friend! I love chunky salsa! Your recipe sounds yummy!! Thanks for sharing! Linda
These are awesome! My family flipped over them! I used a 1/2 package of the rotisserie chicken from Costco which still have the yummy flavor. I also used my KitchenAid mixer to smoosh it up…it worked great. I should have noticed that you used the whisk; I used the regular mixer and it took a bit of extra time. Now I know why. I also forgot to soften the cream cheese as it was still pretty chilled. No one is big on green chili’s, etc. so I just left them out. All in all, it still worked out great.
Linda, I can always count on your recipes being goof-proof for me and ones that my family will like. With all the extra people living here, it seems like I’m in that kitchen constantly! Today was a huge french toast breakfast/sausage/eggs, followed by an apple pie, then the rollups. Tonight’s dinner is tri-tip. Alas, little to no time for my quilting. I think my sister is going home this weekend, and I’m lining up which quilt to get to work on. Anyhow, the other day I made the french bread. It turned out great except I should have baked it a bit longer. I think it was slightly underbaked (operator-error) but no soggy bottom! My grandson has almost eaten both loaves by himself.
I look forward to perusing your site soon to find out what I need to make!
Hi Robbie, thanks for the s stars, my sweet friend. Send me pictures of your quilts as you finish them!!! Some of my old recipes I’m trying to “fix-up” with better pictures. I love that you like my goof-proof recipes. I make all of them. I’m glad you tried the French bread. It’s so easy and will be a life-save if we need bread made without eggs. Linda