7 Crops To Grow For Food Storage
I will share my thoughts on seven crops to grow for food storage today. I’ve had a garden my entire life. There is nothing better than the first red tomato you pick. They taste better than store-bought tomatoes because they are non-GMO tomatoes fresh out of the garden. These all can be used for food storage, and if you dehydrate them or make powder, you’ll have great choices for long-term storage.
My tomatoes are juicy and sweet. Do you need me to say more? With grocery prices seeming to go up every month, I encourage you to start a garden if you’ve never had one or to expand your current garden, if possible. If you’re unable to garden the way you’d like because of space, I get it. You don’t need acres of land to have a vegetable garden. Hopefully, you have space on a deck, patio, or side yard to put plants in pots to start your garden.
Having Food Storage on Your Shelves Requires a Plan
Make a plan to find a Farmer’s Market in your neighborhood in late summer and no later than early fall to help supplement what you grow yourself. If you have access to a community garden, go for it. If you can only grow herbs like basil, thyme, or oregano, that’s awesome as well. This post may excite you about growing more of your food, which is my goal as I update this post.
The tomato cages you see in the picture are some I purchased from Ace Hardware. They last for years. I’ve had some for 15 years or more; they’re fantastic. I don’t see them on their website today. When available, they cost about $25.00 each. Yes, they’re expensive, but they’ll last my lifetime. I hope you find some in your area since they’re sturdy.
Garden Items You Need to Achieve a Good Yield:
- Good Seeds
- Good Gloves
- Good Soil: please check with your neighborhood garden shop or nursery for the soil type for your location so you can choose the proper soil amendments for your area.
- Worm Castings
- A Good Watering System
- Good Organic Fertilzer
7 Crops To Grow For Food Storage
1. Garlic:
You can use garlic as an excellent addition to any garden when you want flavorful ingredients for many recipes.
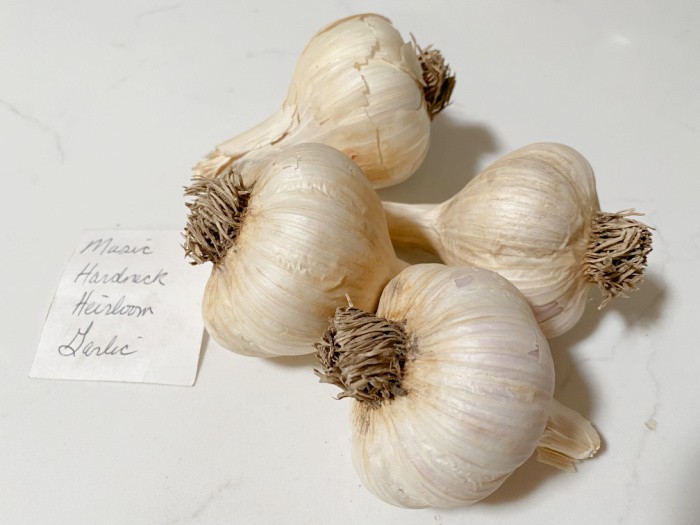
Garlic is a very forgiving vegetable. You need good soil and drainage. My favorite place to order seed garlic is non-GMO organic Seeds. Be prepared for sticker shock when you see the prices of seed garlic. Remember, after the first investment, you can save some of the larger bulbs for seed next year. If you plan correctly, you’ll always have seeds to plant year after year. Just buy right the first time.
Plant before the first frost, and never wait for the hard freeze to arrive. It lies dormant over the winter and then pops up in the spring—plant the garlic cloves 2 inches deep, 5 inches apart. Cover with 5 inches of straw. Leave the straw on it in the spring. If you have a drought or just a dry season, it will help keep moisture in the soil. Dig up the mature garlic carefully during the last week of June. If a prediction of lots of rain is coming near harvest time, dig it up right before it starts. Sitting in water destroys the outer skins on the bulb and makes it hard to dig them up. Thank you, Jackie, for these tips and the freshly grown garlic.
Have we been taking for granted our food sources or the safety of how our food is grown? Are you as frustrated as I am? So, let’s plant the seeds or the plants that work in our community. It’s called being self-reliant, and we can do this, I promise. I often refer to my planting area as a survival garden. I rely on it so much for good quality food products full of vitamins and minerals, with limited concern for calories.
2. Green Beans:
Plant green beans as a healthy vegetable with many nutrients, including protein.
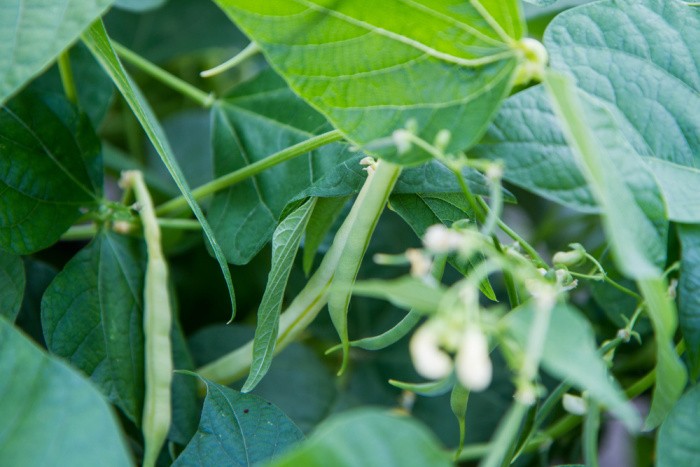
Green beans like composted rich soil with rotted manure. You plant the seeds 1-2 inches deep and cover them with soil. Space the seeds in rows about 6-8 inches apart. I usually plant bush beans rather than pole beans since they’re easier for me to harvest, and they grow a high volume of beans. Some people will build a small trellis for their pole beans, and I haven’t done that.
Water them immediately and regularly until they begin to sprout. After sprouting, they need 1 to 1.5 inches of water each week. They need full sun, so plan accordingly where you’ll plant them. They grow best when the air temperatures are between 65 to 85 degrees.
When the green beans are the size of a pencil, they are ready to harvest. They can toughen up very quickly, so check on them often to ensure the texture you want. You pick them by snapping them off the vine.
Please remember, if you can stagger the plantings every 2 weeks, you can harvest green beans for weeks rather than all at once.
pH level for Green Beans: 6.0 to 6.2
3. Lettuce:
Lettuce has lots of fiber from roughage, which is a goal for good intestinal health; you can’t go wrong with lettuce. There are several varieties of lettuce. Let’s discuss a few of my favorites.
Butterhead Lettuce
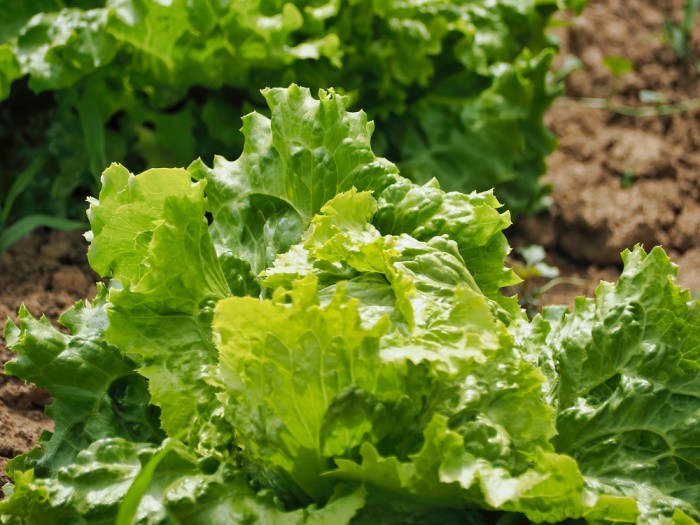
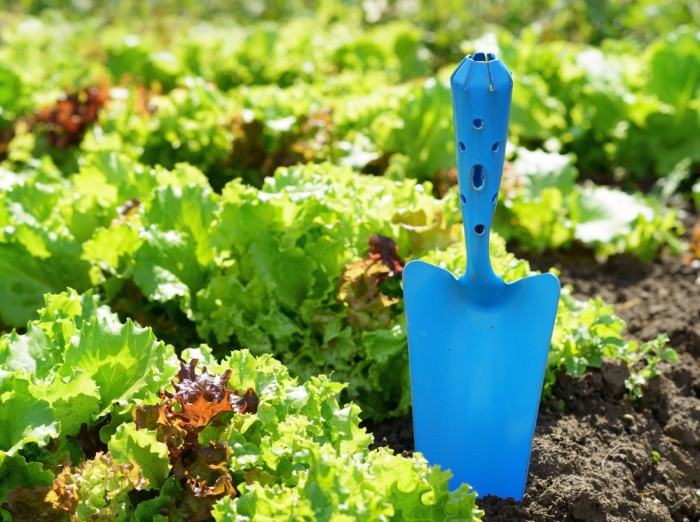
Lettuce is one of the easiest vegetables to grow. Once you start developing your salad base, you’ll be hooked. The nice thing about lettuce is that it can be grown in pots, raised garden beds, and even 5-gallon buckets with holes drilled in the bottom to drain excess water or rain. I’ve started growing my lettuce indoors, too. I love seeing the plants up close and enjoy cutting off enough for dinner as they grow and mature.
An excellent product I can recommend to my readers is Aerogarden hydroponic growing units. You set them up indoors and watch the magic of growing things without soil. AeroGarden, Please note that after halting production for a period, they are coming back in 2025!!
This variety is popular because it grows compact butterhead-type lettuce. It is also remarkable because it grows higher off the ground, so the leaves don’t rot on the bottom.
Days to Maturity (ready to harvest): 55 days
Germination: 7-14 days
These seeds can be planted in the ground, in pots, and in raised garden beds. Sow them thinly in the soil in rows 1 foot apart and plants 18 inches apart. Lettuce prefers a temperature of 40-80 degrees; this variety prefers a pH level of 6.5 to 7.5.
They don’t like acidic soil. They like well-rotted manure and well-fertilized soil with high nitrogen fertilizer (10-8-4). Plant in early spring or late fall for the best harvest.
Romaine Lettuce
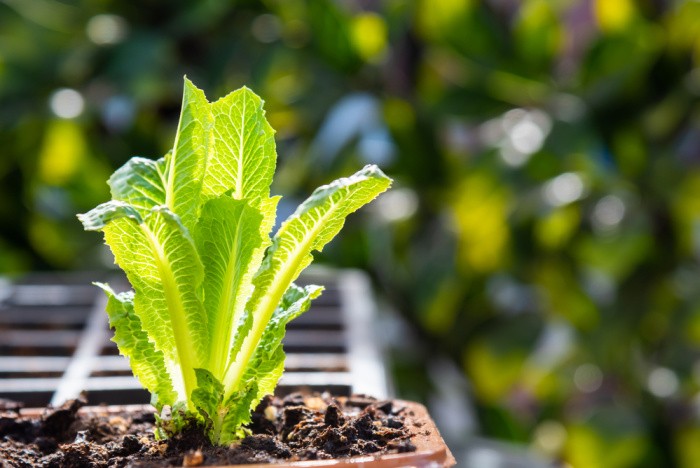
Romaine is typically my favorite lettuce because I love the flavor. It has large, full-bodied heads with mild and sweet leaves. These plants grow about 10 inches tall. Romaine is the most nutritious of all lettuce varieties. I like growing my Romaine lettuce since it seems that commercially grown Romaine often is subject to recall due to causing illnesses.
Days to Maturity (ready to harvest): 80 days
Germination: 7-14 days
These seeds can be planted anywhere: in the ground, in pots, and raised garden beds. Sow them thinly in the soil in rows 1 foot apart and plants 18 inches apart. They prefer a temperature of 40-80 degrees; this variety prefers a pH level of 6.5 to 7.5.
They also don’t like acidic soil. Like other varieties, they like well-rotted manure and well-fertilized soil with high nitrogen fertilizer (10-8-4). Plant in early spring or late fall for the best harvest.
4. Onions:
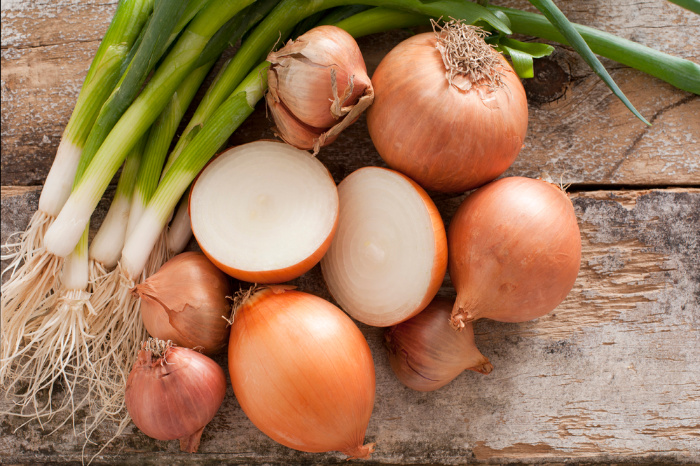
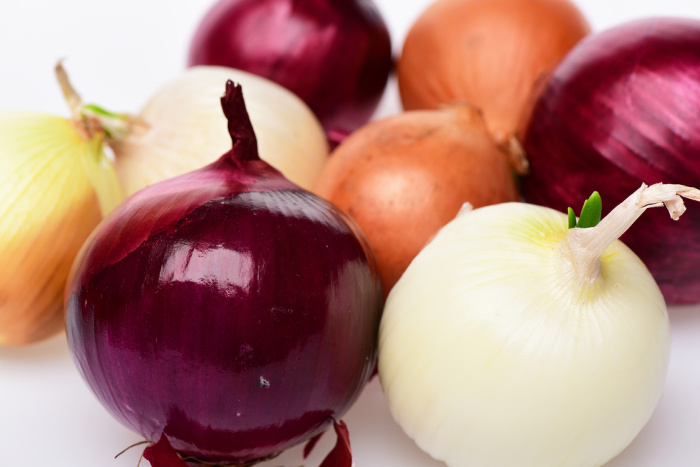
Onions (and garlic) are great for meal prep when you want some savory flavor.
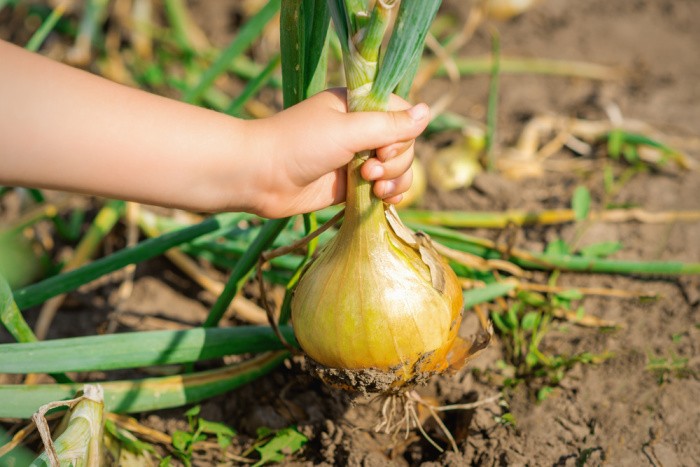
I want to wait until around March or April to plant onions because this works best for my desired results. The ground is warm, and it’s not getting super cold anymore. Your onions can’t grow without sun, so make sure you plant them in a location with full sun! Understanding where to plant may take some time, but you’ll figure it out soon.
Another hint for watching onions grow is not to shade them with other plants. In other words, onions need space and shouldn’t be crowded with other plants. Bunching onions is NOT a good idea.
Onions Are a Leaf Crop
When people think of spring onions, they believe they are more of a root crop. However, they’re more of a leaf crop. Onions should not be buried more than 1 inch under the soil.
After you’ve planted them an inch deep, there are some things you can do to help them grow. Onions can be planted from seeds, plants, or sets. The early spring is the best time to plant onions.
If you want big bulbs, the onions need to be fertilized. However, you don’t want to continue fertilizing once the bulbs become more prominent.
You may not think that onions must be watered often, but they do. Onions from seeds need plenty of water. Whether growing red or white onions, water is essential to developing any plant. You can use your lawn clippings, composted leaves, and even sawdust to create good soil additions to keep the soil moist. If your soil is mostly sand, holding the water well may be more difficult.
Onions need about one inch of water a week to grow happy and healthy. A little trick to watering onions is that the more you water them, the sweeter they will be.
5. Spinach:
Spinach is an excellent vegetable to use in many recipes. I love salads with baby spinach!
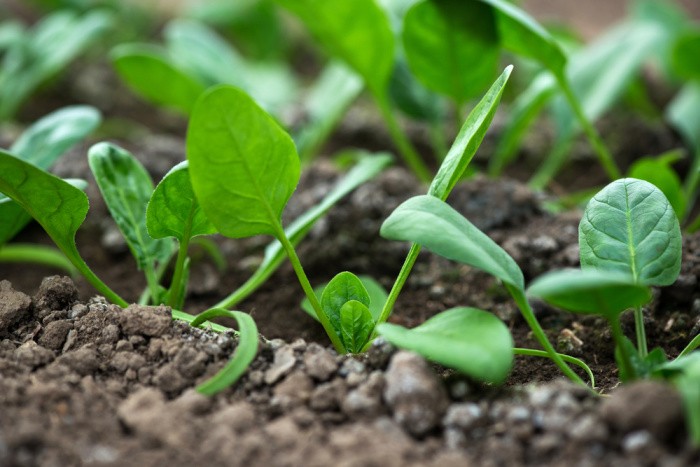
I always use seeds, and I don’t bother with seedlings. The seeds work well. You can plant the seeds about 4-6 weeks after the last frost in the spring.
If you plant some seeds every two weeks, you’ll have spinach for weeks, if not months. I have had spinach sprouts in the winter if we have a mild season.
- You’ll need to thin the spinach seedlings if you spread too many seeds when planting.
- They need about 12 inches between each row. There is nothing more exciting than when you watch for that first sprout. I love it!
- The plants like temperatures between 35-75 degrees.
- Once the heat hits here in my area, my planting days are over until late August or early September.
- Then, I start a new batch every two weeks. This vegetable does well in full sun or partial shade—the seeds I buy mature in 40 days.
- Pots work well if you use the Miracle Grow Potting mix. They are great for apartments or tiny yards.
6. Tomatoes:
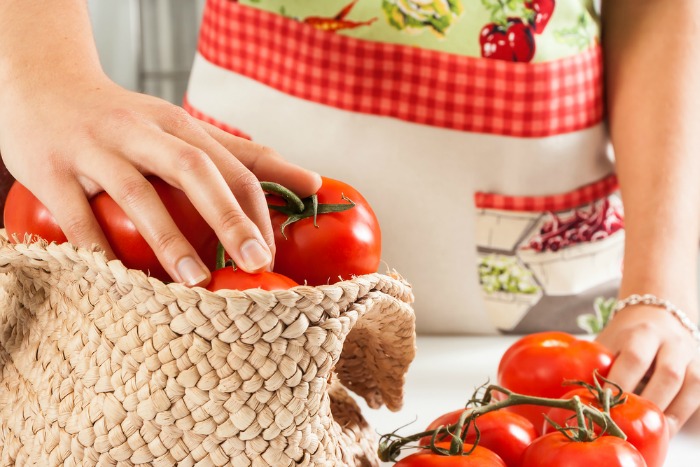
Tomatoes are a versatile plant. They’re great in salads, sandwiches, pizza, salsa, and more!
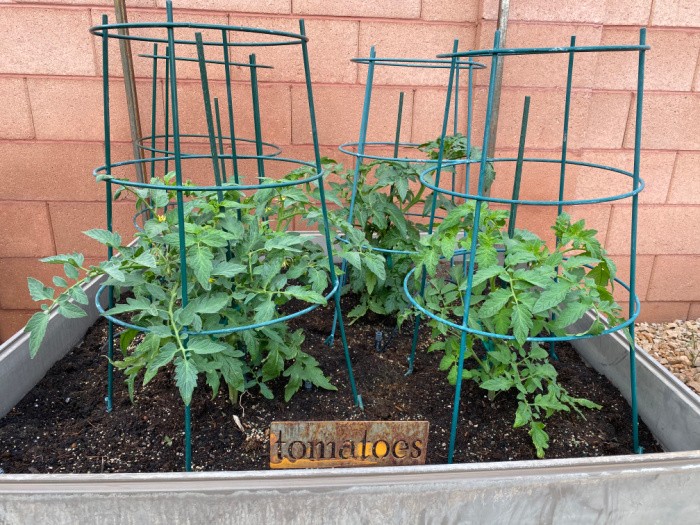
Let’s talk about tomato choices, how you plan to use the ones you want to grow, and in what quantities. You must decide if you’ll eat BLTs during the summer (my favorite sandwich); that’s awesome! If you want to make salsa, tomato juice, or spaghetti sauce, consider which tomatoes are best for those uses since they require more significant quantities. Of course, those chosen have to be suitable for your area. I only know Utah, so I’ll share what I have done for years. These are 100% Heirloom/Non-Hybrid/Non-GMO tomatoes.
Tomato Varieties:
The varieties listed here show the name, the typical size, the growing period, and some great options for how to put them to use the best:
- Abraham Lincoln: 1 lb. heirloom, great for ketchup and tomato juice. Easy to grow and matures in 85 days.
- Beefsteak: large tomatoes, over 2 lbs. easy to grow, incredible for slicers, and matures in 85 days.
- Bonnie’s Best: 6-8 ounce fruit, great for slicers or canning. Matures in 85 days.
- Marion: chefs prefer these crack-resistant tomatoes. Great for salads or sandwiches. Matures in 75 days.
- Pear: pear-shaped fruits that grow in clusters. Great for salads. Matures in 75 days.
- Homestead: a popular heirloom variety. They are good ones for canning, and they are great in a hot climate. They mature in 80 days.
- Mortgage Lifter: they produce large tomatoes, up to 2 lbs. Easy to grow and matures in 70 days.
- Money Maker: It’s one of the most reliable tomatoes you can grow. They grow up to 8 ounces in size, are easy to grow, and mature in 85 days.
The seedlings need temperatures of 70 degrees F during the day and 40 degrees F at night. Once they reach 4 inches tall, transplant them into larger containers or directly into the garden soil. Please plant them deeper than other vegetables. I’ve tried to follow the adage that tomatoes do best when they have at least 18 inches for root growth.
Sweet Tomatoes need at least 8 hours of sunlight each day. Be sure to plant your seeds or seedlings in a location with at least this much sunlight. They also need at least 3 to 4 months of warm, dry weather. Continue feeding your tomatoes throughout the season with organic compost. The temperatures at night should be 55 to 75 degrees F.
7. Zucchini:
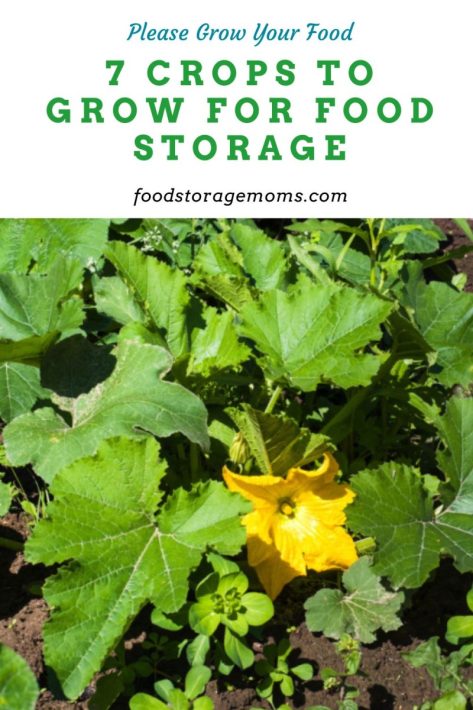
Zucchini is such an easy plant to grow. Because it is so prolific, you’ll probably end up giving some away.
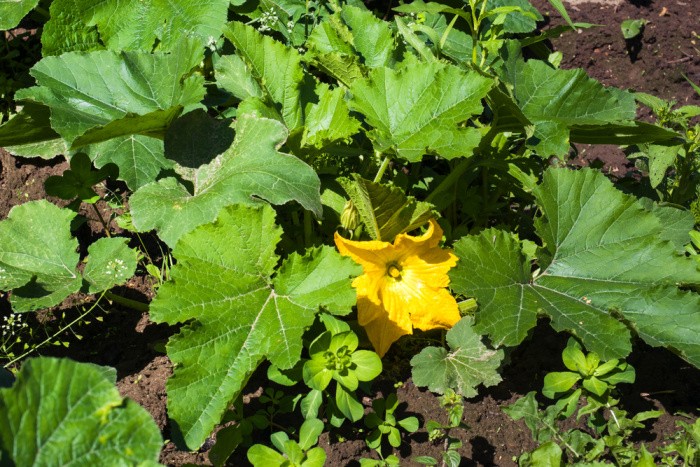
Summer Squash: zucchini, crookneck, and straight-neck (harvested in the summer before they reach maturity).
Winter Squash: pumpkins, butternut, spaghetti, and acorn squash (harvested in the autumn months after they reach maturity).
When you plant the seeds, test the soil to ensure it’s at least 60 degrees F. before you sow them. They need full sun exposure. They need loamy soil rich in nutrients. The soil must drain adequately. Plant the seeds in hills (2-3 each) one inch deep. Space them 2-3 feet apart. Thin as needed to produce the most potent plant. Use a cloche to keep the plants warm in case of cool weather. Mulch the plants to keep them moist and weed-free. When the first blooms appear, fertilize the plants.
Water deeply with at least one inch of water per week. The soil needs to be moist four inches down. If your blossom ends turn black and rot, then you have blossom rot. It’s usually caused by uneven moisture in the soil, but it could also be a calcium problem. Water must be consistent and frequent for the fruit to produce. If the fruits are misshapen, they may not have received enough water or fertilizer. Check for fruit you can pick daily; they grow faster than you may think.
pH level for Squash: 5.5-6.8
Are there other plants you should grow for your food storage?
You may want to try other plants for your garden that other readers have found work well as follows:
- Carrots
- Beets
- Bok Choi
- Green Bell Peppers
- Herbs like parsley, mint, and cilantro
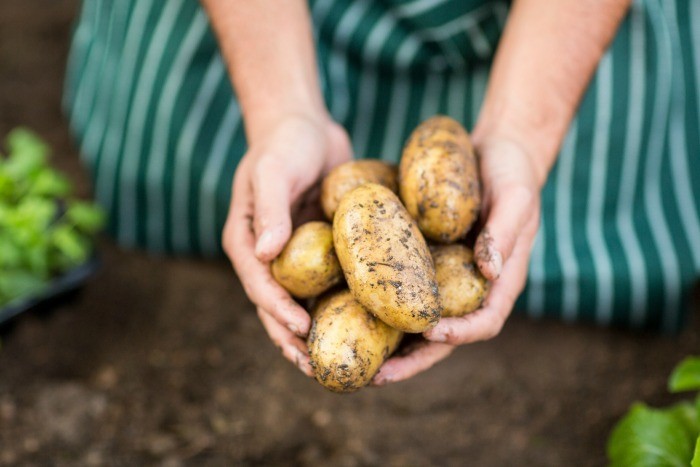
- Potatoes, including sweet potatoes
- Parsnips
- Berries, including strawberries, raspberries, blueberries, and blackberries
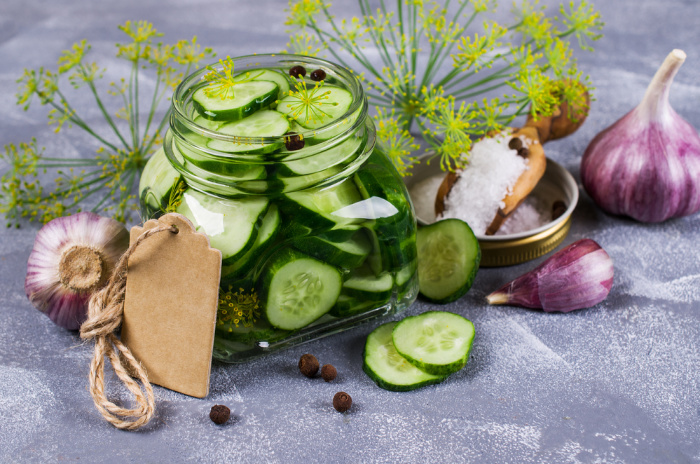
- Other vegetables include turnips, peas, corn, broccoli, cucumbers, Brussels sprouts, Swiss chard, cabbage, and cauliflower. I especially like cucumbers because I can use them in salads and also to make pickles.
Gardening Posts:
- Tips For Growing Sweet Tomatoes
- How To Plant Garlic Step-By-Step
- Lettuce: What Kind Should I Plant
- Easy Vegetables Anyone Can Grow
- How To Grow Squash
- Growing Spinach: Everything You Need To Know
Plan Your Storage Space
Most of our homes have had a basement area we set aside for your food storage. The area was cool, dry, and away from direct sunlight. I keep my canning equipment in the garage, but don’t put any food storage there due to temperatures that may get too hot or too cold. Some people put their harvested food in a root cellar until they’re ready to cook or can the food product.
Final Word
I hope you enjoyed my 7 crops to grow for food storage today. In today’s culture, not many of us are geared to raising our food, particularly for storage. If you’ve been to the store lately, you’ve seen how much food prices have increased over the past few years. What better reason to raise your food if not to save money?
With all the challenges we see in the global economy, having some food stored for emergencies makes even more sense. Don’t wait until later; the time is now. The more food we produce, the better off our family will be. Please keep stocking up; we must. May God Bless this world, Linda
Copyright Images: Romaine Lettuce Depositphotos_365203520_S by Amy K Mitchell, Growing Lettuce Depositphotos_532862850_S by Wirestock, Green Beans Depositphotos_389773304_S by teine26, Onions Depositphotos_379006500_S by Okskukuruza, Spinach Depositphotos_440851968_S by Dimitrova, Zucchini Depositphotos_287892434_S by Elenglush,







We only eat about 1-3% of the lettuce I grow. The rest is for the chickens as supplement. The bitter taste it gets in the summer doesn’t seem to bother them at all.
Hi Matt, yeah the summer heat makes the lettuce bitter. I hear you on that one. Linda
Hi Linda. I read/saw a YouTube video yesterday that said Butternut squash is a good item to grow, not only because they are good, but they store for a long time.
Hi Pam, oh you are so right! I love butternut squash! Great reminder! Linda
Hi Pam, we grow butternut squash. It’s versatile in that I can sweeten it up a bit like my sweet potato dish, but I prefer just butter and a little salt and pepper on the baked squash. So good! We ate our last one just this week and I can’t wait for the next crop.
Grew Butternut Squash last summer in NE GA……here it is April and they have kept like new inside the house as we have no basement here….just made roasted veggie with one again….still have one left that is still perfect….yes, they do keep extremely well.
Pam: AND they are super easy to freeze=dried sheets of butternut squash, too. All I do is bake them, scoop out the “flesh” and mash with a little bit of ginger (YUMMY!). Then the smashed squash gets flattened to produce a flat layer on the freese drier sheets and process them. Wa-Lah! So easy and so fantastic for almost instant butternut squash in a meal!
YOU probably want to wait to add the butter until it’s on the table, though, or as your rehydrating it. Fat in the freeze-drier can sometimes be a problem…
Linda, I gotta give you Big Kudos on this article and the growing advice. I know you do raised beds (mostly?), so I sort of giggled when I saw your tomato cages placed ‘upside down’ compared to how I use them. The prongs on some of my cages are over 2 ft! Green Beans? I use the ones that continually make more as beans are picked. A harvest that keeps on giving clear up to a hard frost. A person can do a lot of meals with your seven basics.. One of my staples not on your list is Peppers, both sweet and hot. Also easy to grow.
Hi Wendy, do you have the same tomato cages??? I love them, they have anchors to dig in the ground to keep them upright!! I would also add potatoes, peppers are awesome too! It’s funny how you think of things after it goes live! I love green beans too! Linda
Linda, I think at one point I had about 120 tomato cages, lol. The thicker metal rod ones tended to be shorter for specific tomato plants who didn’t get very tall but had heavy tomatoes. Other tomato plants used medium or tall sizes. Like, cherry tomatoes are lightweight but like to get tall so I’d use long prong, thin metal ones for these. Roma tomatoes used the medium metal weight, medium height cages. My rule of thumb was that the needed root depth was minimum half the height of a full grown plant. Oh, tomatoes produce more the deeper their roots are able to go. A few years I had 6 ft tall tomato plants! Yes, I had to set in more staking rods and even fencing of a sort between the cages/rods to support them. After this happened once, I planted my tomatoes in a maze grid just for fun for my kids. I do happen to have sandy soil so roots can and will grow deep. I added fertilizer from the top to feed the roots. Anyhoos, the spring of the pandemic, I sold a lot of my cages as I hadn’t been able to have a big garden for a few years anyway. My intent was Not to make a bunch of money from them but to not see them go to waste (yes, they can rust, fall apart). The ladies I sold them to were very grateful as there were none in the stores! I think I kept about 40? (The more pricey ones.) I sold mine for $1 each but easily could have charged more. It was kinda nice when some of these gardeners brought me tomatoes that summer!
Hi Wendy, that is so awesome another gardener could use them! Plus, they brought you tomatoes!! I love this!! Linda
We plant our pole beans between our stalks of corn. That way the beans, climb the corn. Easy.
Hi Janet, oh my gosh, I remember either doing this or seeing it in person. It’s been a long time since I planted corn. I love this! Linda
This summer, I’m going to try two different ‘heat-loving’ veggies–Malabar Spinach and I’Ito Onions. Having a very hot season that lasts from late May-September here in the desert SW, we have to do things differently in the summer, but our cool season veggies are generally great all winter long. Thank you, Linda, for your upbeat and positive, super-helpful blog. I’ve really enjoyed reading your posts! The Lord bless you and yours.
Hi Marcy, oh, thank you for your kind words. I have not heard of those heat-loving veggies! Thank you for sharing the varieties! I love gardening! Linda
Hi Linda:
We have some planters on the front and on one side of our house. I hope I will be able to plant some seeds in there without our neighbors cows bothering them. That is why we don’t usually don’t grow anything. The cows, bugs and other critters are what have kept us from planting things. That and we live in the dessert of New Mexico.
Hi Jackie, oh my gosh, the cows! That would be hard to deal with! We had bugs and critters as well in the desert! Heat is hard!! Linda
Love the post, but I’m struggling a little on how to store lettuce. The rest I completely understand growing for food storage. How does one go about storing lettuce long-term? 🙂
Hi Patrick, thank you for your kind words. I don’t know any way to store lettuce “long term”, it would be short term for me. I have an AeroGarden and grow lettuce year-round inside my home. Lettuce is still food storage, whether it is short or long term. I can keep it for 2 weeks easily using my FoodSaver in quart jars. The idea is to stagger the plantings so you always have lettuce at least once or twice a day for salads. I have seen people dehydrate it for smoothies, but I don’t care for the taste. Linda
Patrick, I am going to plant a big flower pot with one of the mixes that is cut, and regrows.. if you pick only the big leaves the young ones will continue to grow…. fertilize with water like for houseplants..put in a window.
Linda: Please explain what an aero garden is…? I some searches online, but it always came up with nothing OR came up with “Bad Gateway”! Please help!
Sorry for always mistyping my comments! I am really NOT illiterate, just not the best typist anymore at this age!
HI Jess, oh my goodness, no worries, my sweet friend. I meant to put the link in the post. https://www.foodstoragemoms.com/growing-fresh-lettuce-indoors/
Hi Jess, I’m so sorry, I just fixed the post. I love my Aero Gardens! Linda
More timely advice! There wasn’t a garden here before but after a year of watching where the sun hits I’m finally ready to fence out the relentless deer and get started. I would also recommend an asparagus bed and rhubarb. I’ve been enjoying fresh lettuce, basil and parsley from my Aerogarden for a couple of years now and will be growing tomatoes in 5 gallon hydroponic buckets in a small greenhouse this year.
HI Alice, oh I want to do tomatoes in 5-gallon hydroponic buckets!!! Please tell us how you are doing that. I won’t have a greenhouse but I would sure love one. Linda
I bought a small greenhouse kit for my balcony, it has a reinforced plastic cover with a zippered door and two small opening windows. I’m going to put a tarp zipper at one corner so when the door and that zipper are open I can roll up one whole side for extra ventilation. I had two buckets with tomatoes and a grow light in my old apartment. These are special purpose buckets with an aerator and a net cup lid. You put your tomato starter in the little basket in the lid and support it with clay pellets then it’s just a matter of providing the right nutrients and light. Once a month I changed the water in the bucket and added nutrients every two weeks. It’s cheaper to use the free sunlight I can get outside and I still have the nutrients so might as well use them up out there. There are all kinds of DIY hydroponic setups on YouTube, of varying complexity. I’ve got a min/max thermometer out there now to see when it will be a good time to start.
Hi Alice, oh my gosh, thank you for this information. I will be checking out how to make some. Linda
The hot weather crop i plant every year is OKRA…clemson spineless is an old variety as is Lousiana Velvet.. we dehydrate ti and use for snacks seasoned. or rehydrate and batter and fry.. /use in Creole.. to get it to come up- soak the seeds in warm buttermilk or warm water for an hour and plant.. if you get too close together they transplant easily. they will bear til frost. and are to pick often. like heavy nitrogen fertilizer.
Hi Denise, thank you for sharing your tips with all of us! I have never grown OKRA, thank you!! Linda
Linda, I think I’ve mentioned before that if I could only grow one survival crop it would be potatoes. And if I could only grow two I’d add sweet potatoes. Both are among the highest calorie crops you can grow and are high in many nutrients (such as potassium) as well. I’m growing Clancy potatoes from seed this year and am interested to see how they turn out. In April I’ll plant Covington Sweet potato slips I have on order.
Re Lettuce: Try Jericho, an Israeli Romaine style heirloom that holds extremely well in our hot summers and has almost zero bitterness, even after the heat arrives. I grow it year round. For head lettuce Red Ice or Green ice both do very well here in the desert.
Add Bok Choi to your list. It’s one of the easiest “cabbages” to grow. Great in salads or stir fry’s and the stems make a great celery substitute. Stems and leaves are edible, without being bitter even after the plant bolts.
I highly recommend Gardener’s Delight tomato. It’s a large cherry heirloom and is consistently one of my best producers. It’s also delicious. If you love really sweet tomatoes, I recommend Sugar Rush (a hybrid cherry with a Brix score of 10).
Interplant Di Ciccio or Calabrese broccoli with your garlic or onions. The alliums repel aphids and they improve your broccoli’s flavor.
Hi Ray, oh my gosh, yes, I need to add potatoes. My great grandmother always told me to grow potatoes you will never be hungry. I grew sweet potatoes one year in one of my 4 by 4 foot raised gardens and I could have sold them on the Farmers Market! I had so many and Mark doesn’t like them! LOL! I LOVED them! I kept digging and digging and oh my gosh was it fun to find so many! I love Bok Choi, I will add these to the list, great reminder! I always love hearing about your garden choices! Linda
Yes, we found Bok Choy, even the “baby” ones for stir fry recipes, to be exceptionally easy to grow. I stir fry the baby ones with ginger, garlic and shitake mushrooms and some sort of Oriental Sauce, whatever I have left on hand. Oh, my goodness! That is SUCH a healthy dish and not that bad for price, either…at least it didn’t used to be before all grocery prices went insane!! (Haven’t made this in awhile, but am thinking about doing so again.)
Our Amish “Family” down in Western, PA, put us on to what are called Pineapple Tomatoes; and we love them! They are much less acidic, so you ABSOLUTELY have to pressure can them if you want stewed tomatoes in your pantry!!! You should pressure can all tomatoes anymore, due to more sweetness in popular tomato varieties nowadays, but not everyone does…at their own peril, I will add. Amish family tells us that the kiddos LOVE those stewed pineapple tomatoes in a thermos to take to school, that they go wild for them!
According to Dr. Gundry, to whom I listen a LITTLE BIT, and not that much, he swears that the reason people react badly to tomato products is the seeds and the skins contain loads of LECTINS. WELL, if you use a squeeze or such contraption to process tomatoes into sauce, it will remove the skins and seeds.
Hi Jess, oh you are so lucky to be able to buy from the Amish!! I love baby Bok Choy, I need to pick some up at the store. I love Pineapple Tomatoes too! They are large tomatoes!!! I hope I can grow tomatoes and a few veggies this year, not sure if I will be able to, depends on the yard, it’s torn up. When in doubt pressure can your tomatoes. I totally agree. Better safe than sorry. Linda
Can anyone tell me if there is such a thing as a seedless tomato?? I can no longer eat corn or nuts or anything with seeds.
Hi Chris, I know about one but it still can get a few seeds, kind of like a seedless watermelon. “Sweet Seedless”, see if you can find the seeds to plant or if a farmer grows them. Linda