Easy To Make Bread For One
Today, I’m sharing my easy-to-make bread for one person, or two. Either way, this recipe doesn’t require a bread maker or a bread machine.
Do you love the smell of bread baking in your oven, but it seems like too much work to make just one loaf? I really hope you love this recipe because if you have FRESH ingredients, this recipe is another no-fail option!
Here’s the deal with fresh ingredients, if you have your yeast in the pantry and it’s a year old, you won’t like making bread. I recommend storing ONLY yeast that you will use within a month or two in your fridge. Any longer, it must go in the freezer.
Now onto the flour. This may raise some eyebrows, but it’s my recommendation for making bread successfully. I only store bread flour that I will use in the next 9-12 months. It’s all about fresh flour.
All-purpose flour or Bread Flour
Years ago I used all-purpose white flour, and then I taught classes at a couple of high-end kitchen stores. I taught people how to make bread, dinner rolls, and cinnamon rolls, to name just a few things. I loved doing this!
Well, I learned about BREAD flour and my bread-making changed forever. Yes, I still grind wheat to make my whole-wheat bread, but I love white bread too! Sometimes you just want a slice of warm bread right out of the oven, slathered with butter and some jam.
Gotta love it, right? My goal this next year is to teach more skills in the kitchen, and this recipe is just the beginning. Let’s have fun together!
Bread Pan Sizes
When I was growing up, my mother used large bread pans (approximately 9-1/2 inches by 5-1/12 inches by 2-3/4 inches). Well, back then there weren’t a lot of choices for bread pans. It was like one size fits all.
One day, I was going to a Bosch store in Logan, Utah, and I saw these small bread pans on the shelf. I had to buy them. I tried them the next time I was baking bread, and I was sold. I ended up buying 8 small bread pans. My daughters use the same size pans. These are very similar to the ones I have, Fat Daddio Bread Pans. (7.75 x 3.75 x 2.5 Inches)
You may wonder why I need a smaller bread pan. Well, you don’t have to have them, but this recipe today is for a small loaf because we need to remember that homemade bread doesn’t have preservatives in it. It goes bad faster than the store-bought bread.
Mark and I can’t eat a large loaf fast enough, so the small pans are perfect for us. Let me know if you use smaller bread pans, I love to hear from you.
In case you missed these posts:
Kitchen Items You May Need
- Mixing Bowl
- Danish Whisk
- Measuring Cups
- Measuring Spoons
- Bread Pan (7.75 x 3.75 x 2.5 Inches)
Easy To Make Bread For One
Step One
Gather your ingredients so you’re ready to get started making this recipe.
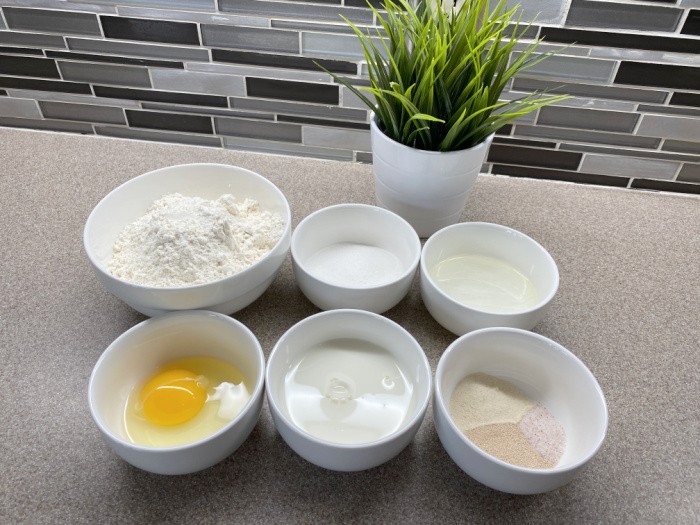
Step Two
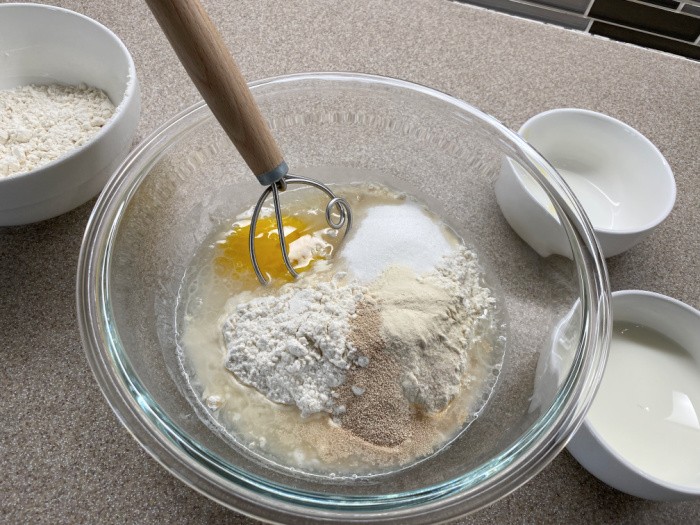
Grease a 7.75 x 3.75 x 2.75-inch bread pan and set it aside. Grab a bowl and a Danish Whisk. Dump everything in a large mixing bowl.
Step Three
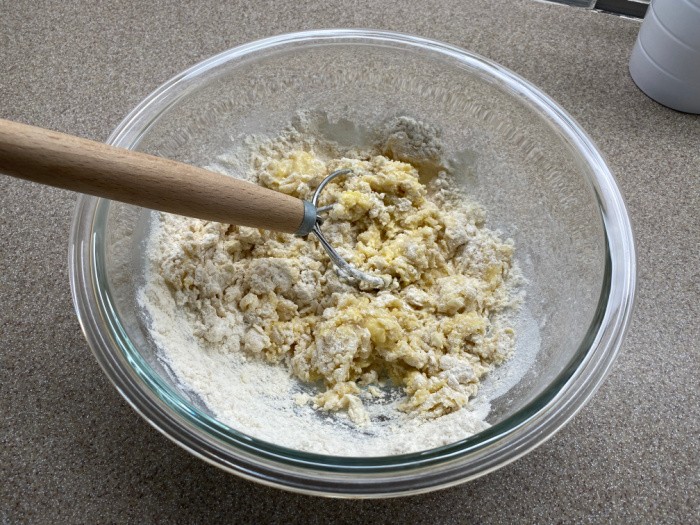
Stir until mixed thoroughly. Add additional flour to the mixture if needed if the dough is too sticky. Don’t add too much at a time, we want the dough to make fluffy loaves.
Step Four
Flour your countertop and scoop the dough out onto the countertop. Knead for about 3-4 minutes. Roll the dough out and shape it into a loaf.
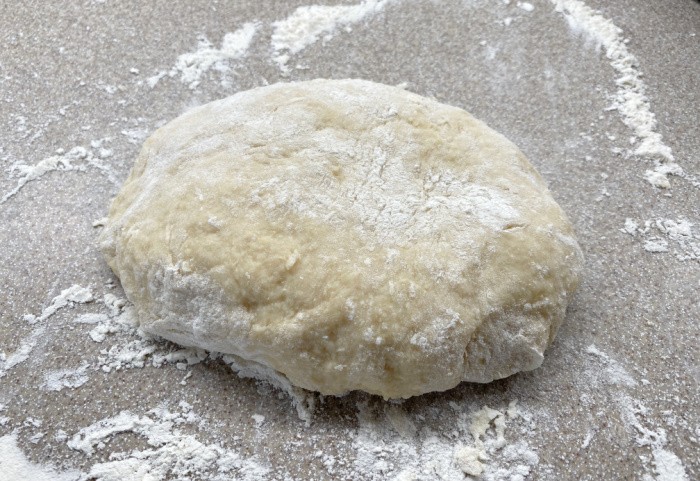
Step Five
Place the loaf in the greased bread pan.
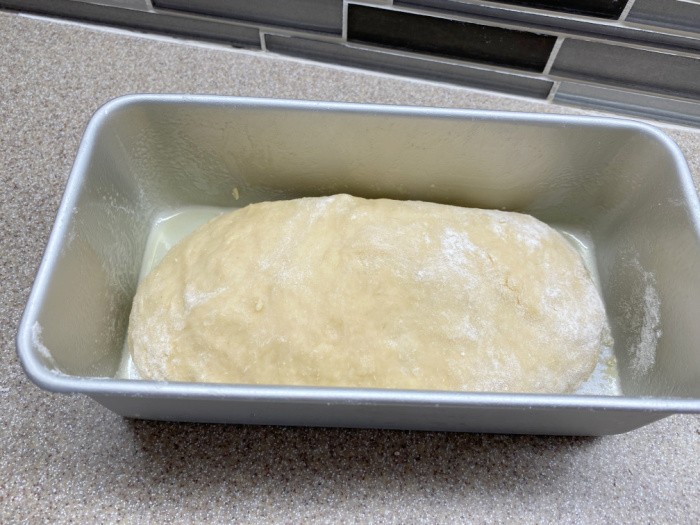
Step Six
Cover with plastic wrap or a warm wet towel. Let it rise for about an hour.
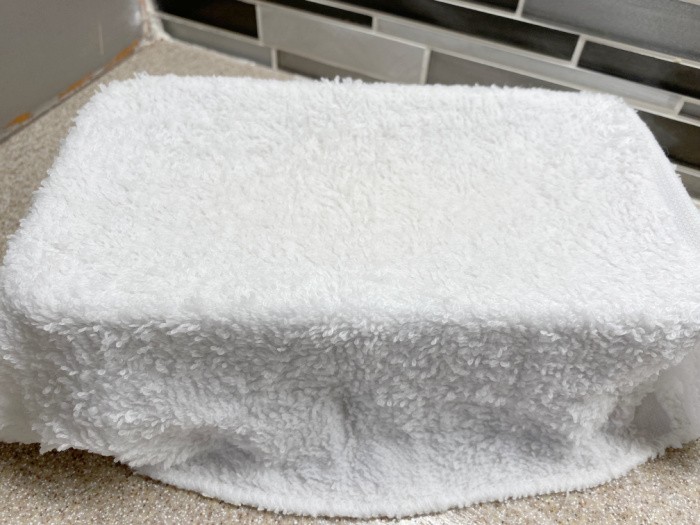
Step Seven
This is what it looks like after it rises for an hour or so. It’s ready to bake.
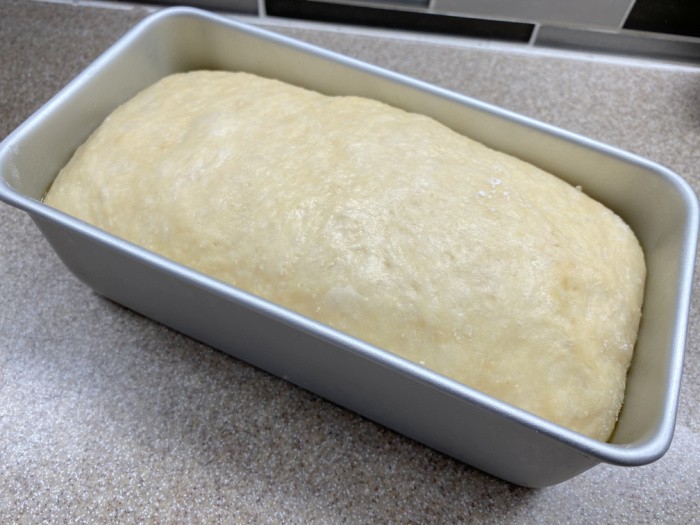
Step Eight
Preheat the oven to 350 degrees. Bake for 20-25 minutes, or until slightly brown. Lightly butter the top after baking if you want a soft crust. I use a baggie slathered with butter to spread on the top. Let it cool. Store in a bag to keep the bread soft. Enjoy.
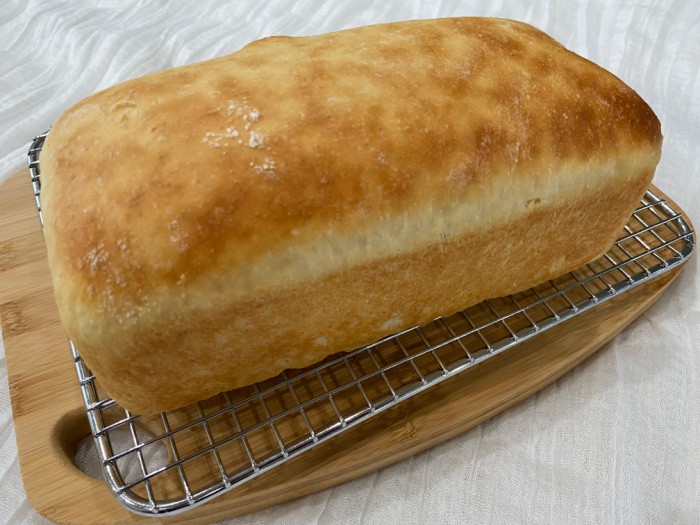
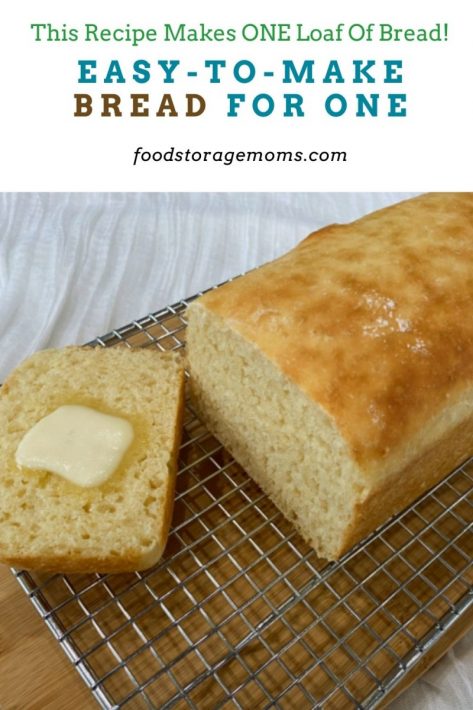
Finished Product: they look so delicious.
Easy To Make Bread For One Recipe
- 1/2 cup warm milk
- 1 teaspoon SAF Instant Yeast (this is what I use)
- 1 teaspoon Dough Enhancer (optional-it makes the bread fluffy)
- 1/2 scant teaspoon salt
- 4 tablespoons sugar
- 1 egg
- 1 tablespoon oil
- 4 tablespoons water
- 1-3/4 to 2 cups white flour (I use bread flour)
-
Grease a 7.75 x 3.75 x 2.75-inch bread pan and set it aside. Grab a bowl and a Danish Whisk.
-
Dump everything in a large mixing bowl. Stir until mixed thoroughly. Add additional flour if needed to the dough if the dough is too sticky. Do not add too much, we want the dough to make fluffy loaves.
-
Flour your countertop and scoop the dough out onto the countertop. Knead for about 3-4 minutes.
-
Roll the dough out and shape it into a loaf. Place the loaf in the greased bread pan. Cover with plastic wrap or a warm wet towel. Let rise for about an hour.
-
Preheat the oven to (350°F) = (176°C) degrees. Bake for 20-25 minutes, or until slightly brown.
-
Lightly butter the top after baking if you want a soft crust. I use a baggie slathered with butter to spread on the top. Let it cool. Store in a bag to keep the bread soft. Enjoy.
How do I store a loaf of bread?
I store my bread in Bread Bags and leave the bread on the countertop. If you place your bread in the refrigerator it will dry out the bread.
Can I freeze the dough before baking?
I have never frozen the uncooked dough, so I can’t recommend it.
Can I freeze the bread after baking it?
Yes, you can. In my regular recipe that I make 8 loaves, I freeze 7 loaves for 1-2 months. I freeze them in bread bags, nothing else.
What bread bags should I use?
Any clean bag will work, but I make so much bread I stock bread bags and ties. Bread Bags
Can I use Gluten-Free flour to make this bread?
Unfortunately not, I actually called Kind Arthur’s Flour customer service a few years ago to see if their 1:1 (measure for measure) gluten-free flour would work. They said no it is only designed for cakes, cookies, and sweetbreads, not yeast bread recipes.
Final Word
I hope you enjoyed my easy-to-make bread-for-one post today. There is nothing like the smell of bread baking in the oven. We really enjoy warm bread right out of the oven with just butter. You may enjoy putting some fruit jam on a slice of the bread. It also makes great toast, peanut butter, and jam sandwiches, or most any sandwich. My goal is to teach others how to make bread, cook from scratch, and LOVE it! Thank you from the bottom of my heart for reading my blog. May God Bless this world, Linda


Linda,
Jane and I have the same problem. We don’t eat a full size loaf fast enough. I have got to get some of those small pans. Thanks for the tip.
Hi Ray, I know, right? Those pans are just the right size! Perfect for one loaf. Bring on the toast, bread, and jam, chipped beef on toast! Life is good! Linda
I’m a vendor at a farmers market and have had people tell me that they slice a fresh loaf and then put it in the freezer. When they want a slice, they can easily pull one out and pop it into the toaster. If you don’t want it toasted, I think it would thaw, covered one the counter within just a couple of minutes.
HI Jerilea, oh thank you for this fabulous tip! It would always be fresh, every single slice! I love it! Thank you! Linda
I love this recipe. It would be good for 3 people in my family. None of us eat a lot of bread but sometimes you just want to have some bread to eat with your egg for breakfast and knowing what is in it is good for my husband, daughter and myself as we are all diabetic and I have lots of allergies
Hi Jackie, thank you for the 5 stars, my sweet friend! It’s so funny the first loaf I made ended up a hot dog bun! I love practicing to get the recipe just right! This one is a keeper! Bring on the butter, jam, or honey! Sugar-free jam for your family! Linda
Love this recipe!!! Just like we love all of your recipes!!
Hi Elaine, thank you for the 5 stars, my sweet friend! This recipe took some practice for me! But it’s a keeper! Linda
Yum! This was fabulous! Thanks for sharing!
Hi Heidi, thank you for the 5 stars, my sweet friend! I’m so glad you like the recipe! Linda
I can’t wait to try this!!!! Looks delicious
Hi Alli, thank you so much for the 5 stars, my friend! You will love this recipe! Linda
Love this! Sounds perfect for our family! Thank you sooo much for sharing!❤️
Hi Camille, thank you for the 5 stars, my friend! I hope your family loves the recipe! Linda
I would the recipe to make more loaves.
Hi Linda, I have many recipes that make more loaves. My readers have been asking me for a recipe to make one loaf. Here are a few more recipes. Linda https://www.foodstoragemoms.com/homemade-white-bread/
Do you have any bread recipes that do not use milk? I have family members that can’t have milk. French bread doesn’t but I want regular loaf bread.
Hi Cheryl, only my sourdough bread and my whole wheat bread. https://www.foodstoragemoms.com/sourdough-starter/. and https://www.foodstoragemoms.com/make-whole-wheat-bread/ Linda