How To Prepare Gardens For Spring Planting
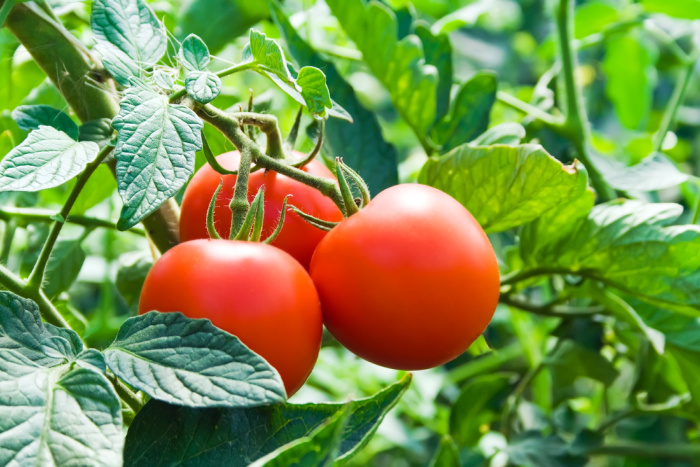
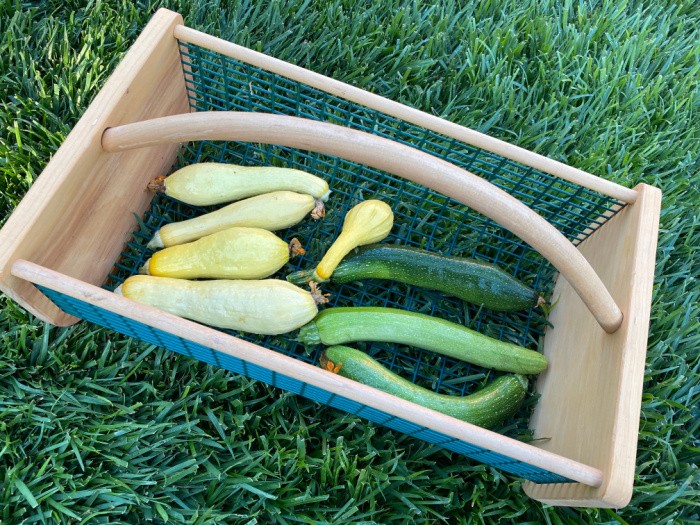
It’s all about how to prepare gardens today. There is nothing better than picking that first tomato, right? If you are lucky enough to have lots of land with really good soil, you rock! Where I live, which is in the desert in Southern Utah, it’s a bit trickier to grow a garden. It takes a few years to get your soil so it will give you a great harvest. I have to laugh, for the last three years, I have not been able to grow zucchini! You know that green stuff that anyone can produce and you are going door to door to see who can use some so you can give your excess away! This is where I buy seeds: SeedsNow
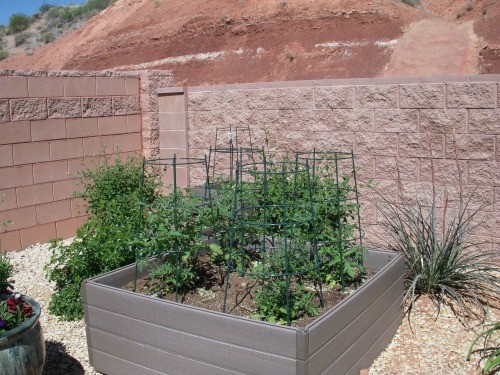
The first few years I had way too many zucchini growing and then I hit rock bottom. Yes, I planted the zucchini in different areas of my planter boxes. The soil here is rock-hard clay, so I chose to purchase raised garden beds. They are 48 inches by 48 inches by 18 inches deep. You need at least 18 inches deep to grow most vegetables in raised garden beds.
Prepare Gardens for Better Yields
Here’s the deal, each year you need to add nutrients to the soil. I confess I do not compost, I don’t have enough garden space to make it worth my while, so I buy organic compost. You can buy most of these products at your local big box store or a garden nursery where you live. I admire those who compost, but it’s not something I want to do under my local soil conditions and hot temps.
Tools To Prepare Gardens
- Gloves: I try to buy them at the end of the season for the following year to get the really good ones at half-price.
- Shovels: I always say “Buy right the first time.” If you clean your garden tools before you put them away they will last forever. Plus, when you need to use them they are clean, ready to grab and take out to the yard. I have regular-size shovels, square shovels, and short-handled shovels. I use the square ones for cleaning out the gutters in front of our home.
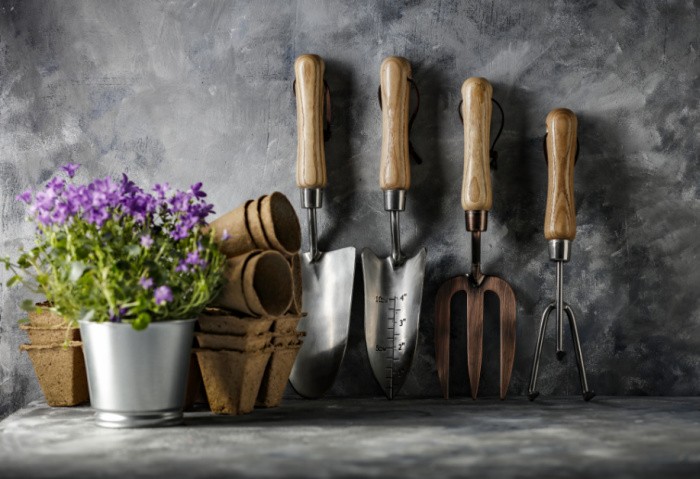
- Small garden tools, such as a small shovel, weed digger, spade, and claw tool. Here again, buy good ones that will last many years.
- Purchase non-GMO seeds and plants.
- Use Miracle Grow Root Starter in the holes where you are placing seedlings or plants. Trust me, this stuff works, I have used it every year in all of my gardens. Miracle Grow Root Starter or the liquid Miracle Grow Root Starter
- Watering can for mixing up your root starter or sprinkle your newly set seedlings.
- A good hose, one that doesn’t kink and has a good nozzle. That reminds me, I need to order one today. Here’s a Good Hose and a Good Hose Nozzle
- A pitchfork, I have a long-handled one and a short-handled one. I use these to turn the soil over and mix in the new nutrients I purchase each year.
- A rake to smooth and level the soil, oh my gosh, I can hardly wait to get my hands on the prepared soil in my raised beds.
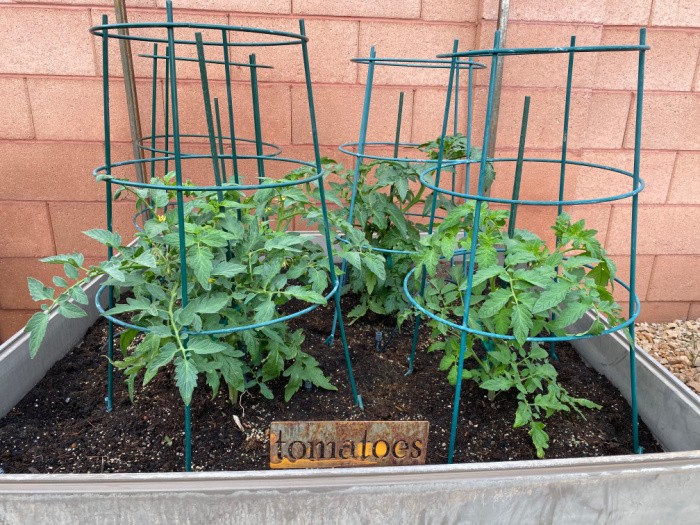
- Tomato cages, the only place I can buy the ones I really like is at a local nursery in South Jordan, Utah called Glover Nursery located on Redwood Road. They are called Tomato Cages and last for years since they are so heavy-duty. This is what they look like:
My favorite items:
I start with Miracle Grow All-Purpose Garden Soil, you can’t go wrong with any Miracle Grow product. You can buy them just about anywhere like Walmart, Ace Hardware, Home Depot, etc.
Unco Industries Wiggle Worm Soil Builder Earthworm Castings Organic Fertilizer, 15-Pound
Miracle-Gro Nature’s Care Organic Bone Meal, 3 lb.
Espoma VM8 8-Quart Organic Vermiculite
If we plant and prepare gardens to feed our families, we become self-reliant and will teach our families how to survive a famine. Please be prepared with the skills you need to grow food for your family, it is a skill we must not lose. Yes, it takes practice, but the rewards are awesome! Thanks again for being prepared for the unexpected.
Copyright pictures:
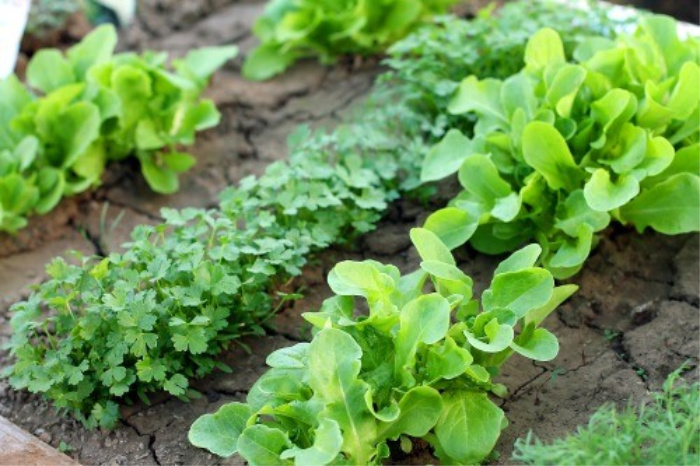
Garden: AdobeStock_81068305 by hqualty
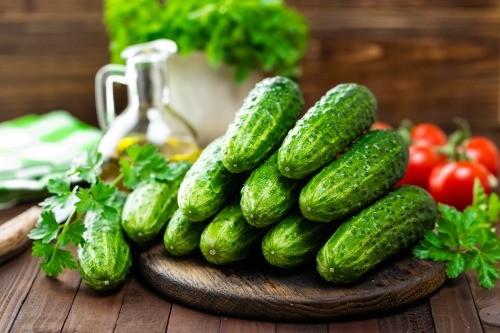
Cucumbers: AdobeStock_148720053 by Sea Wave







We live in a condo in Florida on the Atlantic ocean, so gardening has to be containers ( flower pots). Our conditions are salt misty environment harsh sun. Plant selection is key, and high the humidity runs 60-90%. I have been successful in growing cactus.
Thanks for your commitment to be self sustaining. These are skills as a society we cannot lose.
I agree, gardening is like any other skill–use it or lose it! I was binge watching gardening videos yesterday, and planted tomato, hot pepper and basil seeds. Linda, I’ve always relied on Miracle Gro products, too, but the last bag of potting soil I got looks “muddy”–do you know if they changed it?
Roxanne, LOL had to laugh at your statement of bing watching gardening videos. It sounds exactly like me and I suppose no one really understands why we do that. LOL…have been dreaming of putting in my seeds all winter. Blessings to you and your garden. Vivian
I haven’t used Miracle Gro in two years. The last bag looked more like peat moss with some shredded bark . Did nothing for my veggies, Going Organic this year..
I am blessed to live in zone 9b, central Florida, an hour north of Mickey Mouse. Miss Peggy and I garden 365 days a year. I tried making compost piles. I tried compost tumblers. Both take too long to turn out compost. What works best for me is composting directly in the raised beds. I collect kitchen scraps all week. On the weekend I use a post hole digger to dig a hole 2-3 feet deep. I place the kitchen scraps in the hole and cover. I mark the spot with a stick or something that I know reminds me that I placed scraps there. Each week I do the same thing in a new location. I have 13 raised beds. Works great. The earthworms, beneficial bugs and such break down the material so much faster than piles and bins I have tried. My soil is rich, earthy smelling and full of beneficial organisms.
Miracle Grow soil had some issues the last two years. Where I used the product I found many more insects then I normally have. Another bag (later in the summer) smelled like oil ! I started reading reviews on Walmart and found others were complaining of things in the soil. I have had excellent success with the their other products though. I ended up paying the big bucks and using Happy Frog for my raised bed. Ow! Since I plan on using it for years and years—I think it was worth the $$.
I’d love to hear about rotating soil or plants. In the past I have planted tomatoes in the same place after tilling. Now I am reading that is not a great idea?
Hi Linda! good luck with your adorable garden spot. You go girl! I am biting at the bit to get out in the garden. Just had 20 bags of soil delivered and now must lift those bad boys up and over my garden beds to prepare for the new seed. I will be trying Asparagus this year. Rumor has it that one must wait three years before harvesting to make sure they come back every year and after that that will continue for up to 25 years! I shall do my best not to grab the first one that sticks its head out of the ground and gobble it up. 🙂 oh and last year I used Miracle Grow and was not happy. My plants seemed to bolt up too quickly so I am trying one that is different but it seems as if all if not all the soils are made with Miracle Grow. Seriously? Good to to chat with ya GF. You know you are in my prayers.
Cincinnati Grannie
Vivian M.
Hi Linda,
I do mainly the same thing as Roland except I just throw my kitchen scrapes right on top of the
soil. I use everything; I empty my used coffee filter, I throw out used tea leafs from tea bags, egg shells,
potato peels, onion peels, everything. It helps with my soil. Also I have been blessed to have trees and I
let the leaves “fall” where they may, they rot and go into the soil. I have the blackest dirt, from years
of rotten leaves. I throw these items out all fall and winter long. It will cut back on how much Miracle Grow you buy.
The remaining soil, which is often high in clay and low in organic matter, can then bake hard in the tropical sun. Mulch has a place in all food gardens but in the tropics, it is even more important, because as well as protecting the underlying soil from desiccation and laterization (chemical weathering) it, rather than the soil, is the main source of nutrients for your crops. I found the mulch layer in my garden beds would break down fast if I added some organic nutrients and thoroughly drenched it once a week. I also add beneficial mycorrhiza to both the topsoil and mulch and use a wood mulch that encourages fungi growth, which then turns the mulch into soil carbon. While certain bacteria can pull carbon into your soil, which I will discuss later, it can’t break down lignums and cellulose as effectively as mycorrhiza can. Low-cost food production in the desert As I had previously worked in desert areas I began experimenting with lining my garden beds with buried plastic and installing slotted drainage pipe to saturate the lower layer of soil.
Hi, CAMH, thanks for your tips on your gardens. Linda
We have sandy soil where I live as well. I prepare the soil after the season by what I call putting it to bed until next time.
I put about a 2 inch layer of RAW cow manure over the whole thing, throw in kitchen scraps we collected during the garden season, and then cover the whole thing with a layer of cardboard, using rocks to hold in place.
The worms love covered ground. 4-5 months later when ready to plant again, simply remove the cardboard and plant seeds, no tilling needed.
Hi, Scott, oh my gosh, this is awesome! I am going to try this after my last crop!! I will have to see where I can get some Raw MANURE! Thank you, Linda
little gardening tool trick I started using a few years ago – cut a planting “plug” out using a bulb planter for my bedding plants …. works great for tunneling down that 10-12 inches for a well stalked tomato …..
Hi Illini, I like your gardening tool trick! I’m going to try this for my tomatoes this year, great comment! Linda