The Best Manicotti Recipe
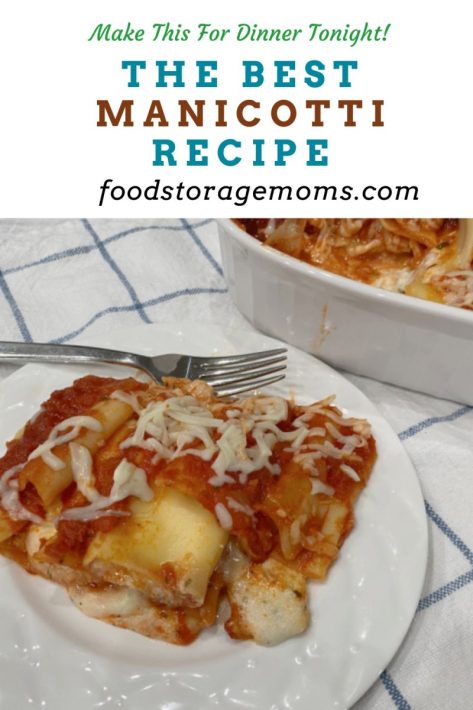
This truly is the best Manicotti recipe because it’s so easy to make and the whole family will love it. It’s like lasagna without the meat, which may be frustrating to those meat lovers out there. But even so, everyone in our family loves this casserole!
It’s made with pasta, spaghetti sauce, Ricotta cheese, and Mozzarella Cheese. Any combination of cheese will work instead of just using Mozzarella. You can use cheddar, Parmesan, Mozzarella, and even spicy jack cheese. This is why I love this recipe! With all the cheese options, it probably should be called a cheese manicotti recipe.
Items You May Need In the Kitchen
Manicotti Recipe Ingredients
- Manicotti Shells: A pasta in the shape of a tube that is generally made from flour, water, and eggs.
- Mozzarella Cheese: A white, semi-soft, and mild-tasting cheese.
- One Egg: The egg is used to bind the ricotta and mozzarella cheeses together which allows the filling to be stuffed into the manicotti pasta easier. It also helps the filling to stay together while cooking so that it doesn’t fall apart.
- Whole-Milk Ricotta Cheese: A soft, mild-tasting cheese made from whey. It has a slightly sweet flavor and a creamy texture.
- Salt: Salt is used to help enhance the flavors of the other ingredients.
- Pepper: Pepper adds flavor and helps to bring all of the other flavors together.
- Parsley: Parsley has a delicious slightly bitter taste that contrasts well with other flavors. Used to enhance the other flavors of the recipe.
- Spaghetti Sauce: It’s important to use a spaghetti sauce that you and your family love! Whether a homemade spaghetti tomato sauce or from a jar, use one that you feel the taste will combine well with the mozzarella and ricotta cheeses. I used a marinara sauce from my local Harmon’s grocery store and it was perfect!
Manicotti Instructions
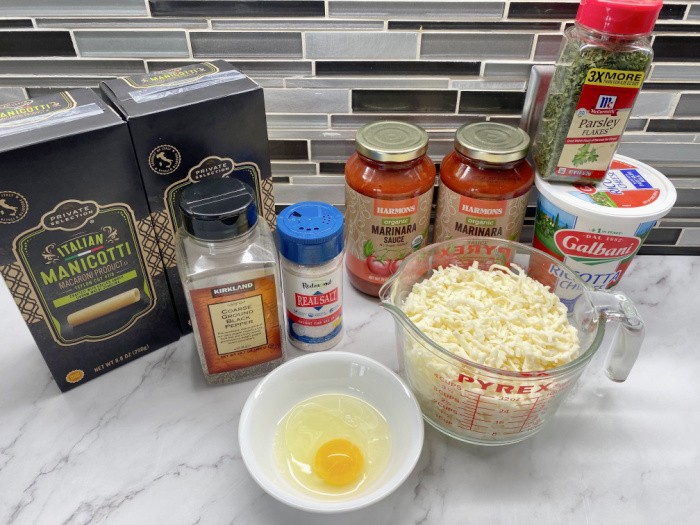
Step One: Gather the Ingredients – Preheat the Oven
Gather the ingredients. Preheat the oven to (350°F) = (176°C) degrees.
Step Two: Bring Water to a Boil
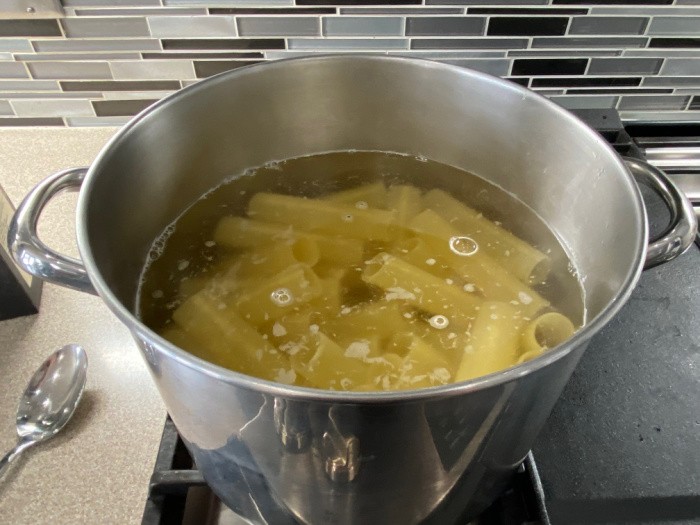
Bring some water to a rolling boil in an 8-quart soup pot. (Use the amount of water according to your pasta instructions). Add some salt to the water.
Step Three: Boil Pasta – Drain – Rinse with Cool Water
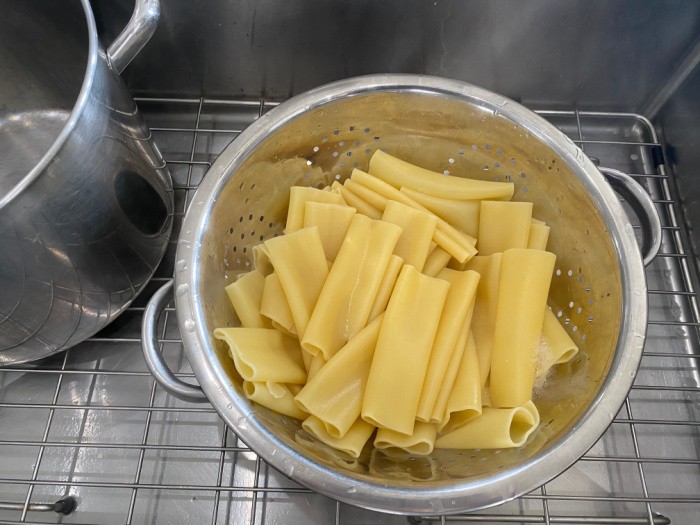
Boil your pasta in the large pot of salted water according to the directions on the box. Drain and rinse with cool water.
Step Four: Mix Cheeses with Egg, Salt, Pepper, and Parsley
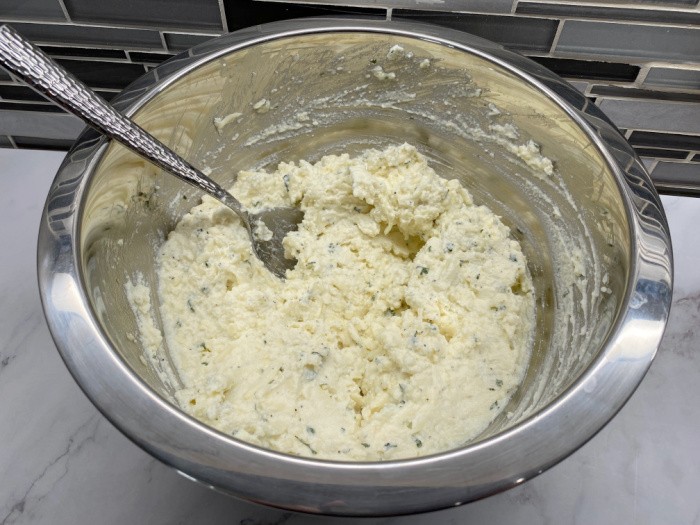
In a large bowl, combine the Mozzarella cheese, egg, Ricotta cheese, salt, pepper, and parsley. Stir until mixed thoroughly.
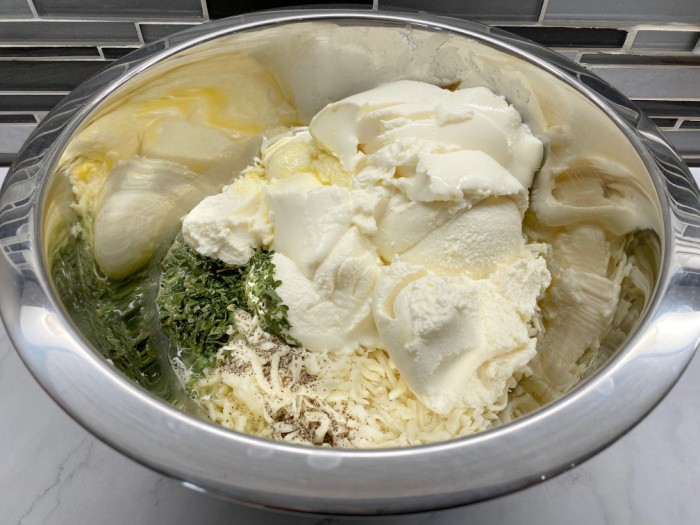
Ready To Fill Manicotti
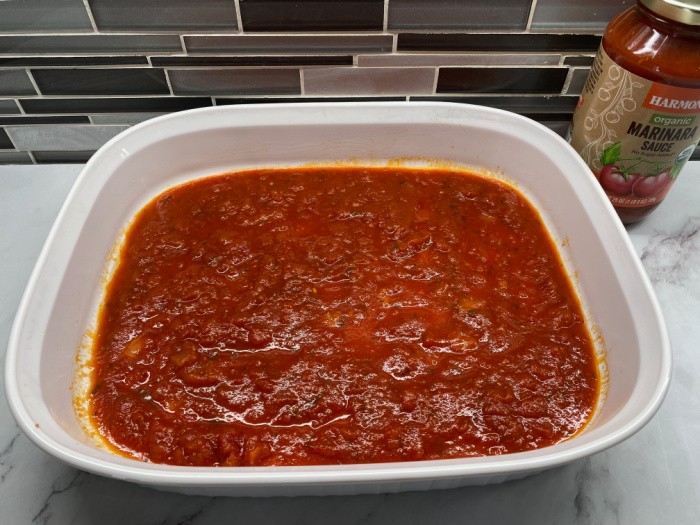
Step Five: Grease the 9×13 Dish – Pour Some Spaghetti Sauce into Dish
Grease a 9-inch by 13-inch casserole dish and pour some of the spaghetti sauce into the bottom of the greased dish. Save the remaining sauce to pour on top of the casserole before you bake it.
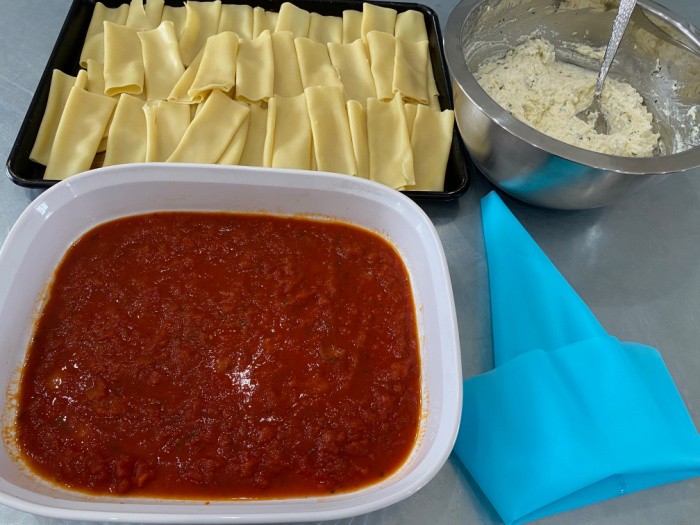
Step Six: Prepare Pasta to be Filled with Cheese Mixture
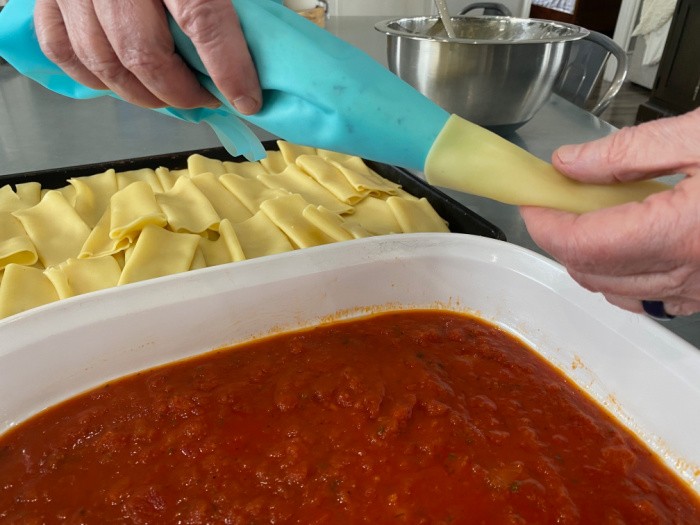
Place your pasta so you can fill them with the silicone pastry tube. Fold back the silicone pastry bag and scoop some of the contents into the bag.
Step Seven: Use Silicone Pastry Bag to Fill Manicotti Pasta
This silicone pastry bag doesn’t need a tip and is so easy to wash, I love it. It’s nice to have something to fill each Manicotti piece with ease.
Step Eight: Place Each Filled Manicotti Pasta in Dish – Then Cover with Sauce
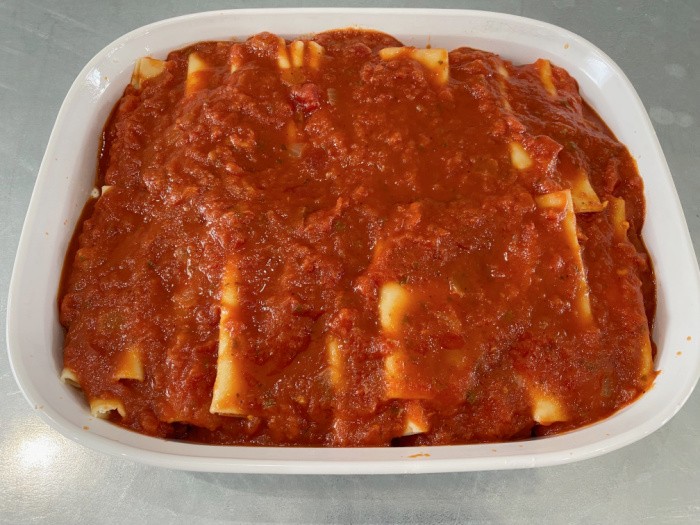
Continue filling all of the Manicotti noodles and place them in a single layer evenly in your dish. If you have some pasta left over just add it on top and cover it with the sauce.
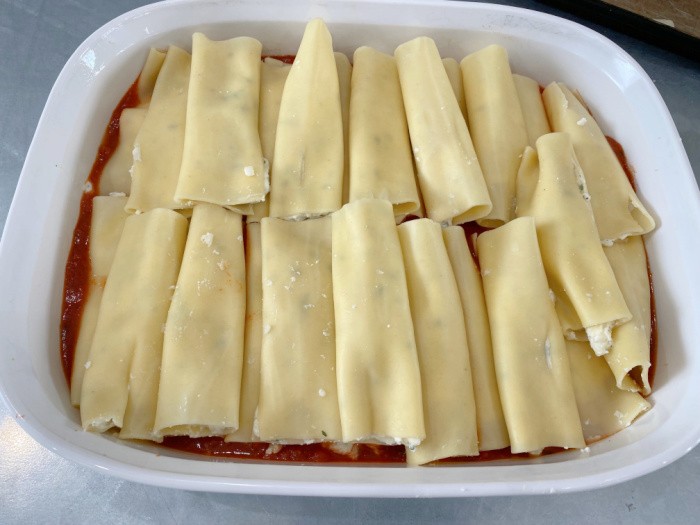
Step Nine: Cover with Foil – Bake at 350°F for 40-50 Mins
Cover the dish with aluminum foil and bake at (350°F) = (176°C) degrees for 40-50 minutes or until heated through.
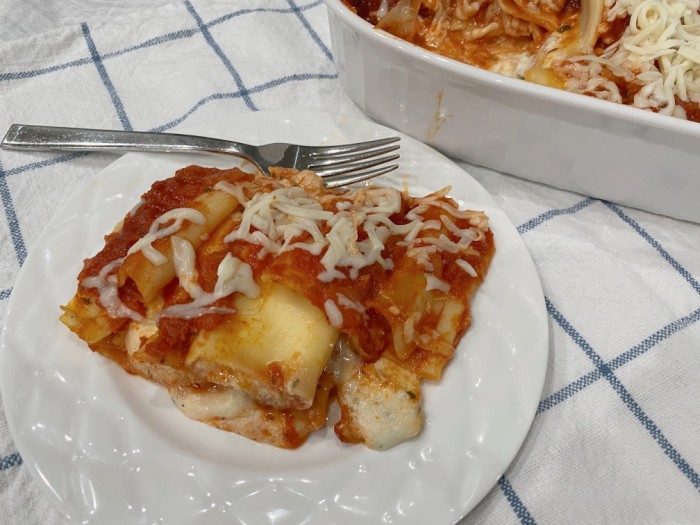
Finished Product
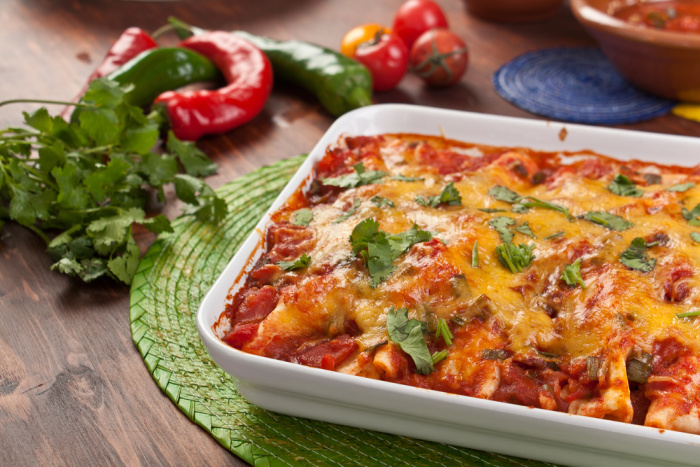
Remove the foil from the baking dish. Sprinkle additional Mozzarella cheese on top of the casserole and cook for an additional 10-15 minutes to allow the cheese to melt. Enjoy.

- 1-1/2 pounds Manicotti pasta
- 4 cups grated cheese mix, I used Mozzarella
- 1 egg
- 1 15-ounce tub of Whole-Milk Ricotta cheese
- 1 teaspoon salt
- 1/2 teaspoon pepper
- 2 tablespoons parsley
- 2 jars of spaghetti sauce (mine were 25-ounces each)
-
Gather the ingredients. Preheat the oven to (350°F) = (176°C) degrees.
-
Bring some water with salt added to a rolling boil in an 8-quart soup pot. (Use the amount of water according to your pasta instructions).
-
Boil your pasta according to the directions on the box. Drain and rinse with cool water.
-
In a large bowl, combine the Mozzarella cheese, egg, Ricotta cheese, salt, pepper, and parsley until mixed thoroughly.
-
Grease a 9-inch by 13-inch casserole dish and pour some of the spaghetti sauce into the bottom of the greased dish. Save the remaining sauce to pour on top of the casserole before you bake it.
-
Place your pasta so you can fill them with the silicone pastry tube. Fold back the silicone pastry bag and scoop some of the contents into the bag.
-
This silicone pastry bag does not need a tip and is so easy to wash, I love it. It's nice to have something to fill each Manicotti piece with ease.
-
Continue filling all of the Manicotti pasta and place them in a single layer evenly in your baking dish. If you have some pasta left over just add it on top and cover it with the sauce.
-
Cover the pan with aluminum foil and bake at (350°F) = (176°C) degrees for 40-50 minutes or until heated through.
-
Remove the foil from the baking dish. Sprinkle additional Mozzarella cheese on top of the casserole and cook for an additional 10-15 minutes to allow the cheese to melt. Enjoy.
What tool do you use to fill manicotti shells?
I love using a silicone pastry tube or bag to fill the manicotti shells. It is perfect! It doesn’t need a tip and it makes it easy to fill the bag with the cheese mixture and squeeze just enough of the mixture into each shell.
What is the best way to store leftover manicotti?
I always transfer any leftover manicotti to an airtight container. If stored properly in the fridge, the remaining manicotti should last for 3-5 days.
Can manicotti be prepared ahead of time?
This recipe is great to make ahead of time! I would recommend making the recipe as is, uncooked, and storing it in the refrigerator for up to 3 days. Take it out of the fridge, and allow it to sit at room temperature for about 30 minutes before cooking. Cook as directed.
I have also made the cheese mixture alone ahead of time. I stored the mixture in freezer bags in the fridge for up to 3-5 days before cooking the manicotti shells. This worked well!
How do you keep manicotti shells from splitting?
The trick here is to gently place the cheese mixture into the cooked manicotti shells, I love using a silicone pastry bag to squeeze the mixture into the shells. I’ve found the shells work better right after removing them from the pot while they’re still soft. If you wait too long they tend to stick together.
A large narrow spoon may also be a good option if you don’t have a pastry bag. You could also use a gallon-sized ziplock bag with a hole clipped in one corner.
What can you serve as a side with manicotti?
- Garden Salad
- No-Fail Soft Dinner Rolls
- Bread Sticks
- Easy To Make Cheesy Garlic Bread
How do you stuff manicotti without a silicone pastry or piping bag?
I love using a silicone pastry bag to squeeze the mixture into the shells.
If you don’t have a silicone pastry bag, a large narrow spoon may be a good option. You could also use a gallon-sized ziplock bag with a hole clipped in one corner.
Be creative! You got this! It’s all about simplicity. Try to make things as easy as possible, so that you’ll want to make this stuffed manicotti recipe over and over again.
Are there any variations for the manicotti filling?
I really love this recipe as is! If you’re interested in making any changes, I recommend any of the following:
- Add freshly grated parmesan cheese, cheddar cheese, or spicy pepper jack cheese.
- For added fiber and nutrition – add a variety of vegetables to the cheese filling – Spinach, tomatoes, mushrooms, zucchini, etc. You’ll need to cut these veggies into smaller pieces so they’ll fit into the pasta noodles easier.
- To add some additional protein – Make a meat mixture to add with the ricotta and mozzarella cheese. Italian sausage, ground beef, or ground turkey would be delicious and savory options. Be extra careful when adding the meat mixture to the manicotti noodles. The meat will need to be finely ground so that it doesn’t tear the noodles when adding the mixture.
- Add additional spices such as garlic or fresh basil. These spices are part of the spaghetti sauce, but you can add more if desired.
Love pasta? Check out these other delicious savory dishes!
Final Word
This is truly the best manicotti recipe! It is one of our family’s favorites and I hope it will be your family’s too!
It was amazing to me how easy it was to fill the manicotti noodles with the cheese mixture using the silicone pastry bag. Please let me know if you decide to use this bag as well. In the past, I had been hesitant to make manicotti, but with the ease of this bag, I will be making manicotti more often.
I love how the egg helps to bind the mozzarella and ricotta cheeses. I can see how important it is to use an egg. It truly helped to keep the cheese mixture in the manicotti noodles while the casserole cooked. I love it!
You and your family are going to love this recipe! Let’s continue to teach our family how to make delicious, hearty, wholesome meals. May God Bless this World, Linda.





Hi! I made this for my family last night for dinner. It was so delicious and very easy to make. Thank you for sharing your recipe!
Hi Alli, thank you for the 5 stars, my sweet friend! It’s a family favorite here! Linda
Yum! These were amazing! I’ll definitely be making these again!
Hi Heidi, thank you for the 5 stars, my friend! I’m glad you liked the recipe! Linda
Thank you for sharing this recipe! I made it for dinner the other night. Everyone loved it! We will definitely be making this again!❤️
Hi Camille, thank you for the 5 stars, my friend! I love hearing your family loved the recipe! Linda
Manicotti is special to me because my 5th step dad used to make it for me! He’s gone now but I really want to make it and can’t remember, so thanks for the recipe! <3
HI Jess, thank you for the 5 stars, my sweet friend. My family loves the recipe! Linda